California Dog IDs And Microchip Records Need A Wildfire-Season Checkup
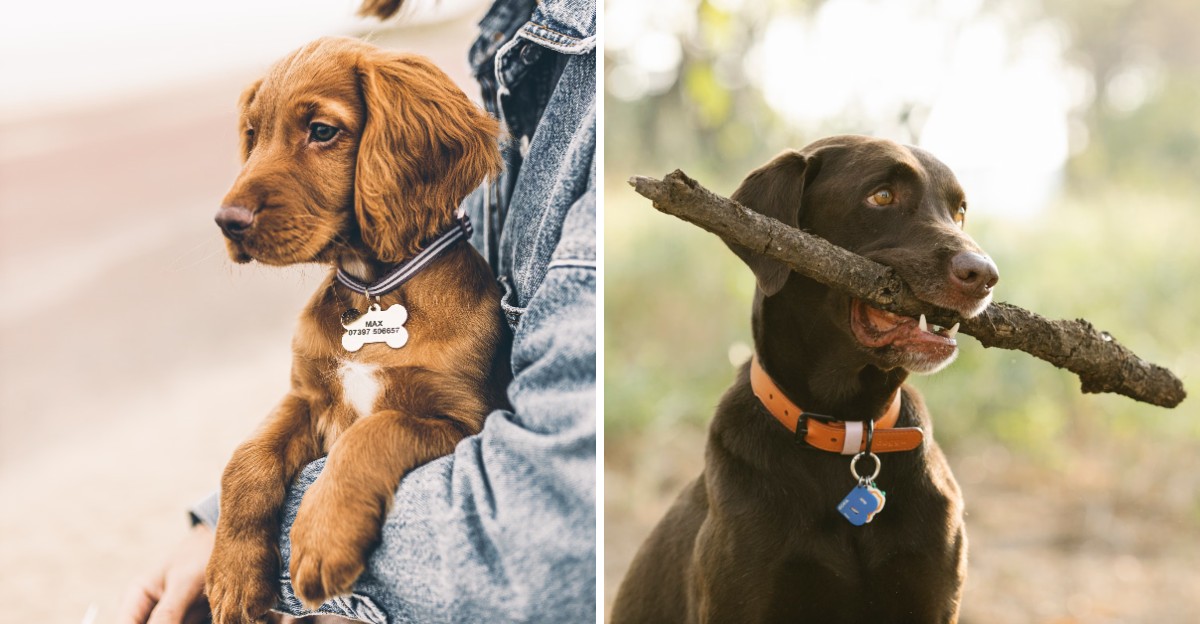
Your dog’s collar tag might look fine, but can someone actually reach you using the number on it? Before California’s wildfire season gets busy, take a little time to check tags, microchip details, and travel records.
Small updates can make a real difference if your dog becomes separated from you during an evacuation. You don’t need a complicated system, just clear information that stays with your dog and remains easy to find.
1. Check That Your Dog’s ID Tag Shows Your Current Phone Number
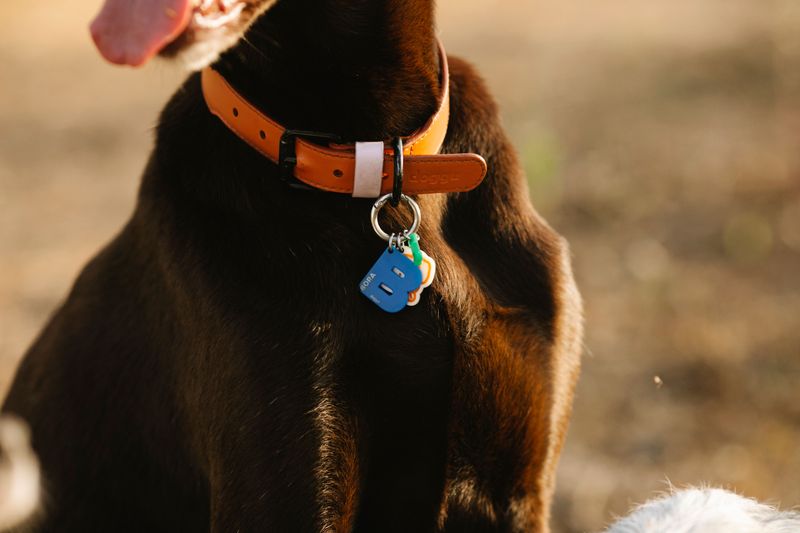
A familiar collar can hide an outdated number for years. Read your dog’s tag closely, then compare every digit with your current phone number.
Replace tags with worn lettering, missing digits, or contact details you no longer use.
Choose a number you can answer while away from home. A mobile number usually works better than a home landline during evacuation.
Ask someone to read the tag without help, checking that the lettering is still clear.
2. Update Your Home Address If You Have Moved

Moving boxes disappear faster than old addresses in pet records. Update your address with the microchip registry, veterinarian, and local dog licensing office.
Changing one account usually does not update the others automatically.
California licensing procedures vary by city or county, so ask your local agency what a move requires. Review any address printed on your dog’s tag, too.
Keep your mailing address accurate, even when your phone number remains the same after a move.
3. Review Your Dog’s Microchip Registration
A microchip helps only when its number leads to useful contact details. Sign into the registry holding your dog’s record and check your name, phone, and email.
Having a chip implanted does not necessarily mean registration was completed.
If you cannot identify the registry, ask your veterinarian for help. The AAHA lookup tool can identify participating registries associated with a number.
It does not display owner details or replace updating the registry’s actual contact record.
4. Make Sure Your Microchip Number Matches Your Records
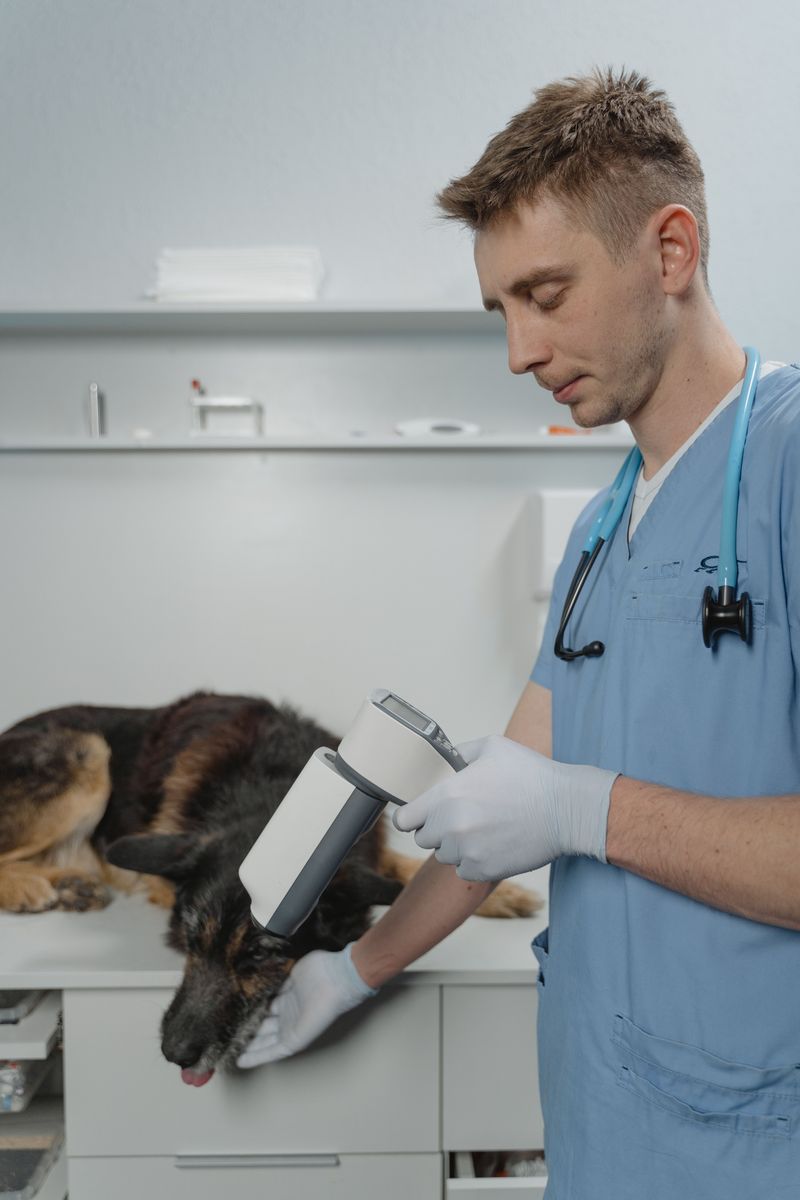
One mistyped digit can point a record toward the wrong chip. Compare the number on your adoption papers, veterinary chart, and registry account.
Read slowly, checking each digit rather than relying on a quick glance.
Ask your veterinary team to scan your dog if the numbers disagree. Use the scanned number to resolve errors with the registry and other records.
Keep a corrected copy where your household can find it quickly when preparing to leave.
5. Add an Emergency Contact Outside Your Household
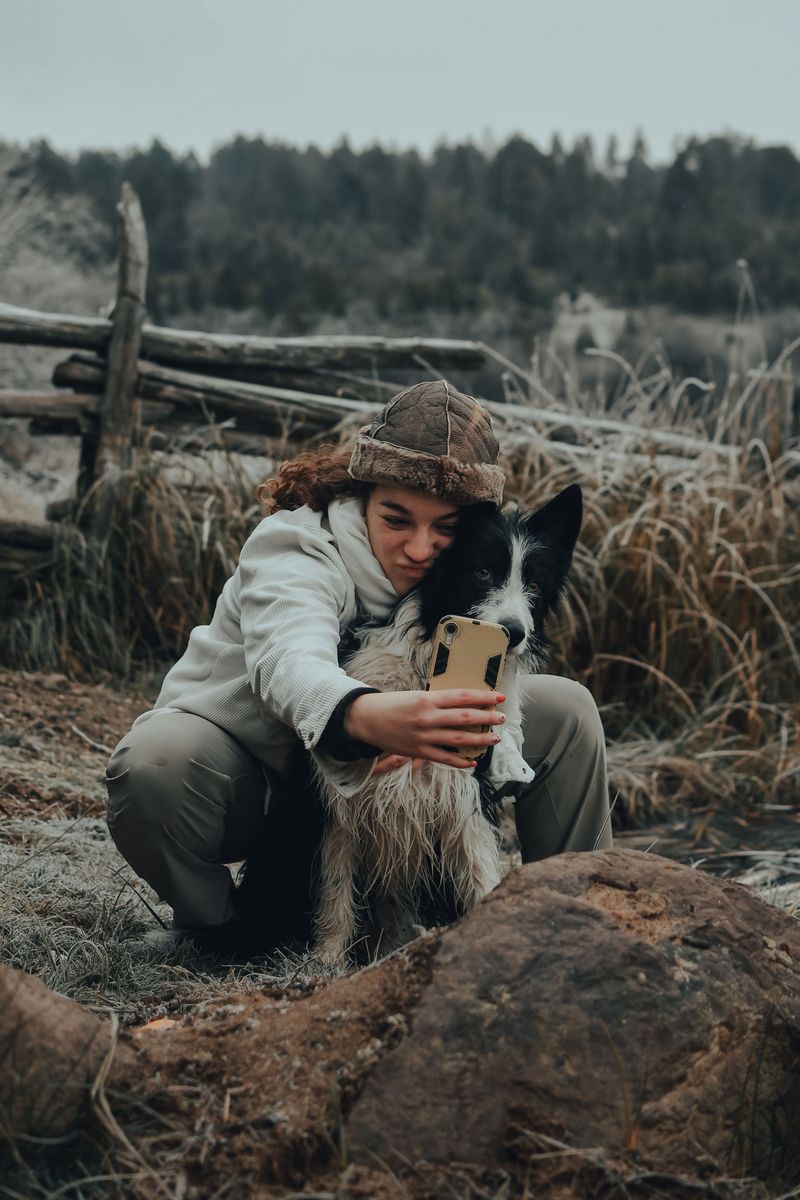
Your whole household may be traveling together when someone calls about your dog. Choose a trusted person outside your household who can answer calls and reach you.
Someone outside your immediate area may offer useful backup during local disruptions.
Get permission before adding that person to your microchip account. Explain your dog’s name, your evacuation plans, and how to contact you.
Review which contact fields your registry offers, because emergency contact options differ between registry services.
6. Keep a Recent Photo of Your Dog on Your Phone
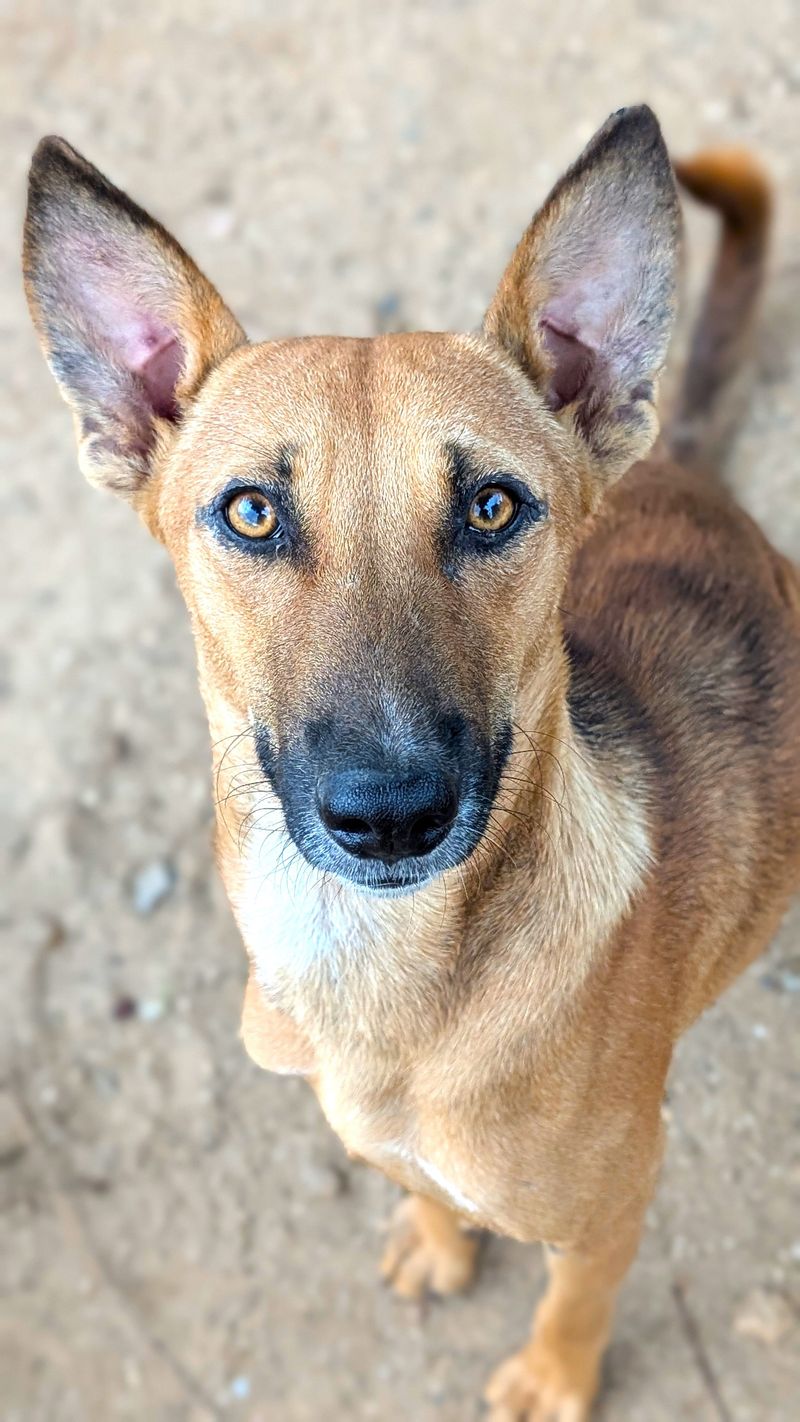
Clear pictures tell a better story than a blurry puppy snapshot. Take current photos showing your dog’s face, full body, and special markings.
Include another photo of you together as helpful supporting information.
Save the pictures in a labeled phone album for quick sharing. Update them after major grooming changes or noticeable changes in appearance.
Photos can support identification, but shelters may request additional ownership records before releasing a dog into your care after separation.
7. Include a Backup Phone Number on Your Dog’s ID Tag
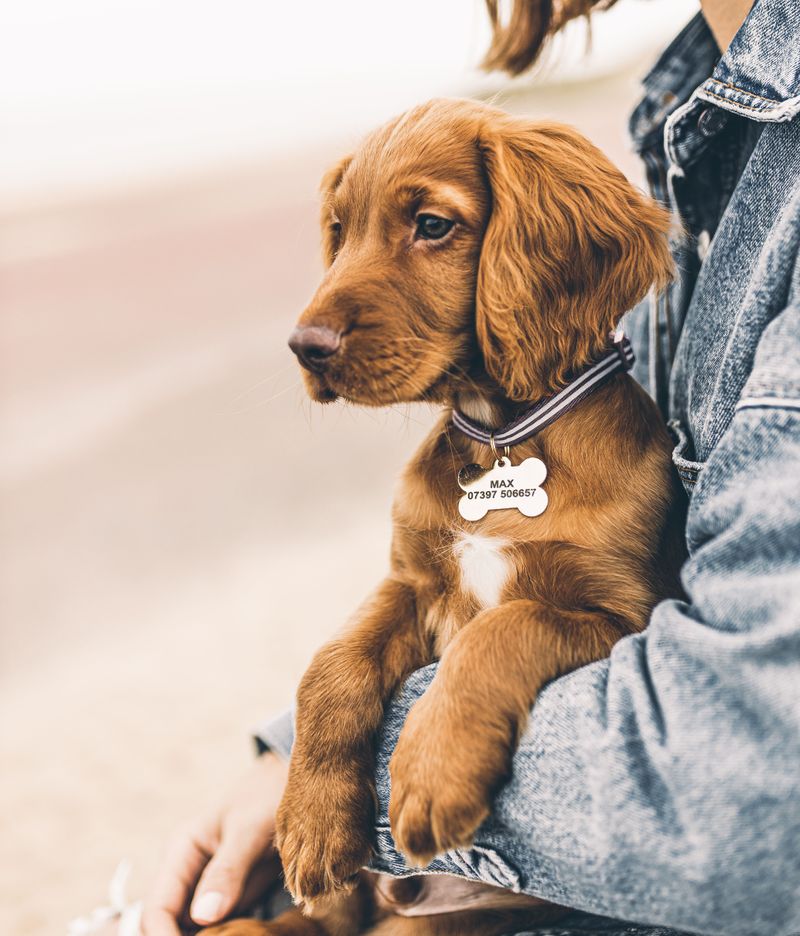
A second number gives a finder another way to reach help. Add a trusted contact’s number if the tag has room for readable lettering.
Ask permission first, and explain that unfamiliar callers might be reporting your dog.
Small tags become difficult to read when crowded with information. Consider a larger tag or engraving on both sides instead.
Check that both numbers remain current, and avoid relying only on a code that requires internet access to read.
8. Check That Your Dog’s Collar and Tag Are Secure
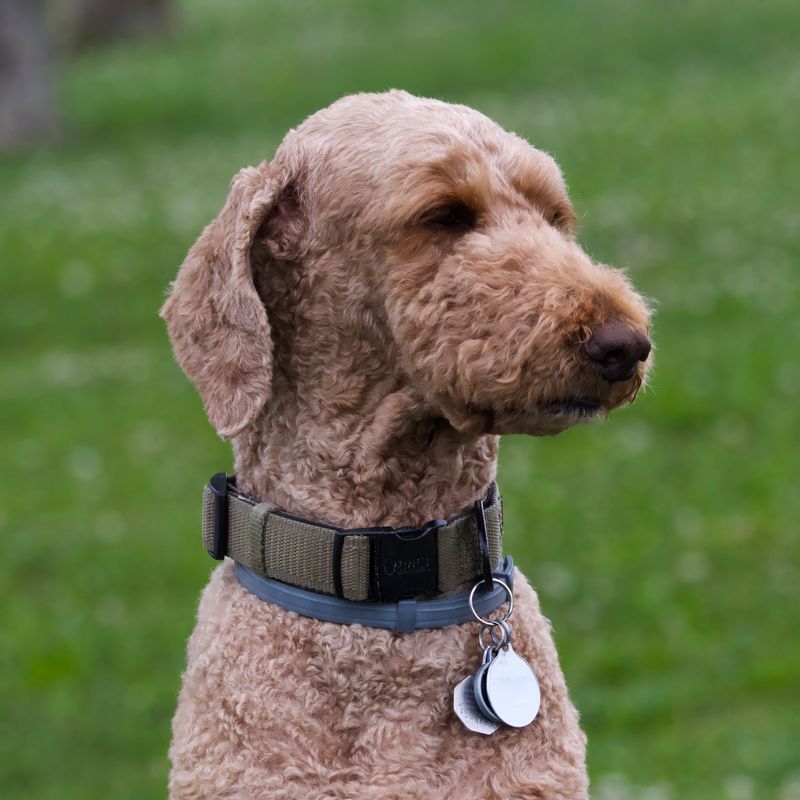
Even perfect contact details cannot help if the tag falls off. Inspect the collar buckle, stitching, tag ring, and attachment points for wear.
Replace bent rings or damaged parts before packing your evacuation supplies.
Check the fit using your veterinarian’s guidance for your dog’s size and collar type. A collar should stay secure without restricting comfort or movement.
Recheck growing puppies often, and keep a suitable leash or harness ready beside your dog’s travel gear.
9. Keep Rabies and Vaccination Records Accessible

Paperwork can make temporary housing and veterinary visits easier to arrange. Request a current rabies certificate and vaccination summary from your veterinary clinic.
Store copies with your evacuation supplies, rather than leaving everything in a desk.
California law requires rabies vaccination for dogs beginning at three months of age. A licensed veterinarian may grant a documented exemption when vaccination would endanger the dog’s life.
Licensing and facility rules can vary locally. Ask your veterinarian about overdue vaccines, and confirm documentation requirements with your destination before traveling there.
10. Save Your Veterinarian’s Contact Information
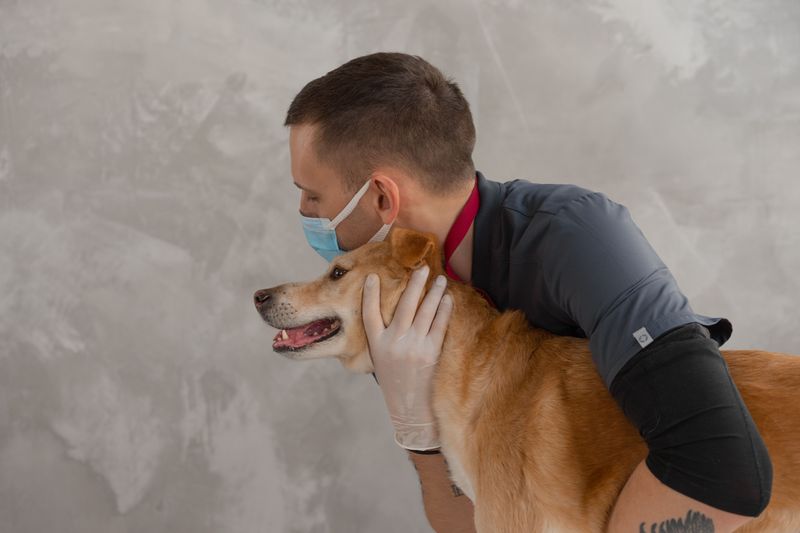
Searching for a clinic number is harder when plans change quickly. Save your regular veterinarian’s phone number, address, and patient portal details.
Add an emergency veterinary hospital near your likely evacuation destination as another option.
Call ahead when possible, because hours and services can change during local disruptions. Keep these contacts on paper as well as your phone.
Ask your clinic how to request records if its building closes or normal phone service becomes unavailable.
11. Update Your Dog’s Medical and Medication Records

A brief health summary helps unfamiliar caregivers understand your dog’s needs. List current medicines, prescribed directions, allergies, medical conditions, and your veterinarian’s details.
Ask the clinic to confirm anything unclear or recently changed.
Keep medications in their original labeled containers when possible. Discuss an appropriate travel supply and storage needs with your veterinarian before wildfire season.
Never change doses on your own, and update the written summary whenever your dog’s treatment plan changes at home.
12. Register Every Dog in the Household Separately
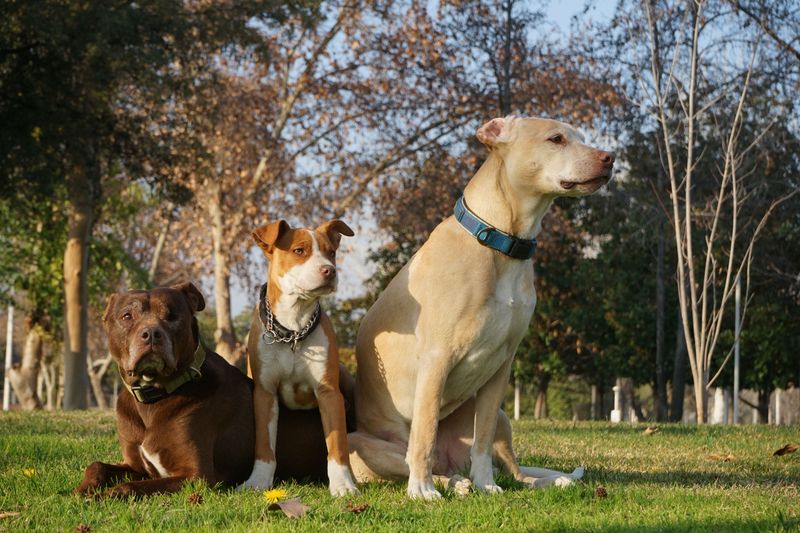
Two dogs sharing a couch still need their own identification records. Check each dog’s unique microchip number, registry entry, collar tag, and licensing status.
Avoid assuming one completed registration covers every pet in your household.
Create a separate record page for each dog, using names and photos to prevent mixups. Local licensing requirements and fees vary, so confirm them with your jurisdiction.
Review each profile individually after changing shared household contact information in your registry account.
13. Prepare a Waterproof Identification and Records Folder

A single grab bag beats hunting through drawers at departure time. Use a waterproof pouch for identification copies, vaccination records, medical notes, and emergency contacts.
Add your dog’s photo and microchip number on a clearly labeled sheet.
Keep the pouch near your evacuation supplies where adults can find it. Protect sensitive details by keeping the folder closed and securely stored.
Carry copies rather than your only originals, and replace pages whenever the information changes at home.
14. Check Your Dog’s ID Before Staying at an Evacuation Facility
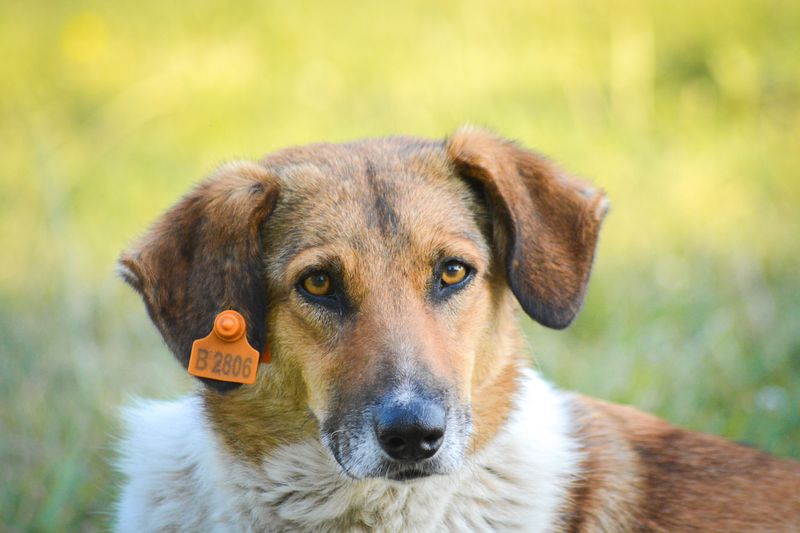
A quick collar check belongs beside your final bag check. Before entering temporary housing, confirm your dog is wearing readable identification and secure equipment.
Bring your records folder, leash, carrier if needed, and current contact information.
Not every evacuation site houses pets in the same way. Check official local updates for animal sheltering arrangements and intake requirements.
Tell staff about medical needs, and ask how identification is tracked if pets stay in a separate care area.
15. Make Sure Your Dog’s Microchip Can Be Scanned
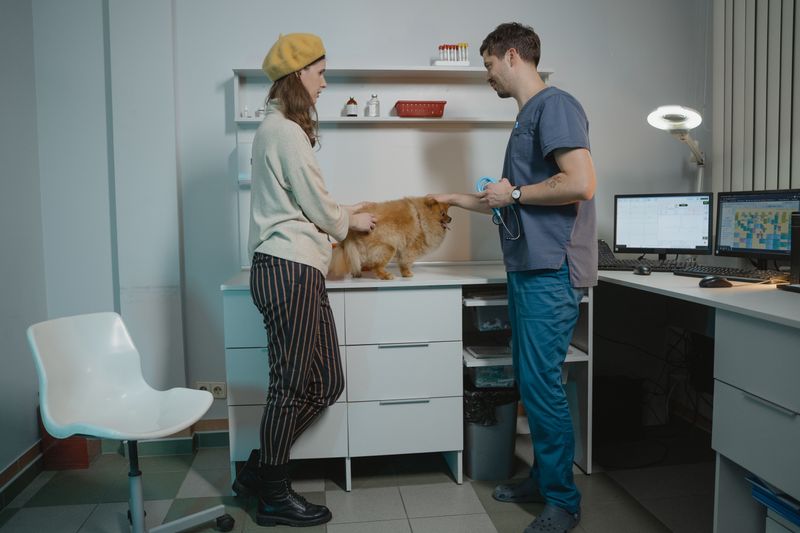
A routine veterinary visit offers a chance to check chip readability. Ask the team to scan your dog and confirm the number they find.
If detection is difficult, they can scan more broadly and advise you.
Microchips do not provide GPS tracking or show your dog’s live location. A compatible scanner reads an identification number that can connect to registry information.
Pair the chip with a readable collar tag, rather than choosing only one identification method.
16. Keep Identification Updated After Adoption or Ownership Changes
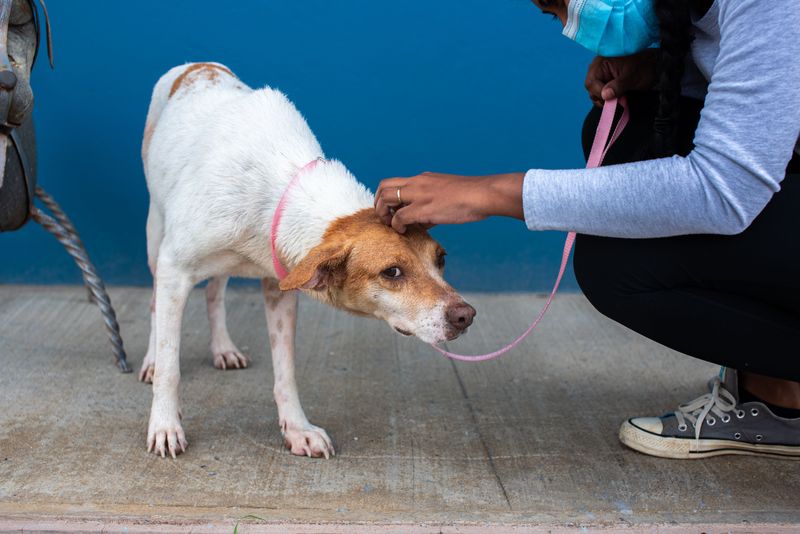
Bringing a dog home starts a new chapter for its records. Ask the shelter, rescue, or previous owner which registry holds the microchip information.
Follow that registry’s transfer process, including any required documents or approval.
Do not assume adoption paperwork automatically changed the chip account. Confirm your own contact details appear after the transfer is complete.
Update veterinary records, collar tags, and local licensing too, keeping copies of documents that support the ownership change for reference.
17. Review All Identification Details Before Peak Wildfire Season

A calendar reminder turns good intentions into a dependable household habit. Review tags, chip registration, photos, licenses, and medical papers before your area’s higher risk months.
California wildfire timing varies, and preparation helps throughout the year.
Repeat the check after moves, phone changes, adoptions, or new medical instructions. Make sure another adult knows where records and supplies belong.
Clear tags, current contacts, and ready records give you a simple foundation for calmer decisions when plans change.