Hiring A Dog Walker In New York Means Thinking About Keys, Doormen, Elevators, And Building Access
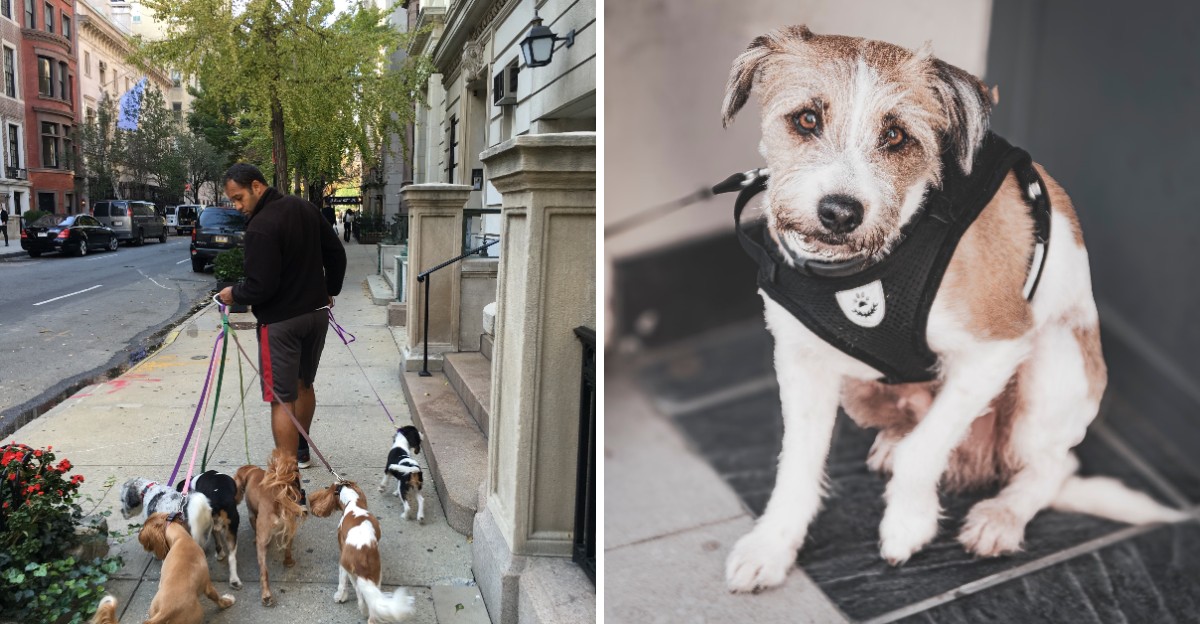
A great dog walker needs more than a leash and a friendly welcome from your dog. In New York, getting through the building can take just as much planning as the walk itself.
Your keys, front desk rules, and elevator setup all shape how smoothly each visit goes. A few clear agreements before the first walk can protect your privacy and help your dog enjoy a steady routine.
1. Confirm How the Dog Walker Will Receive Your Keys
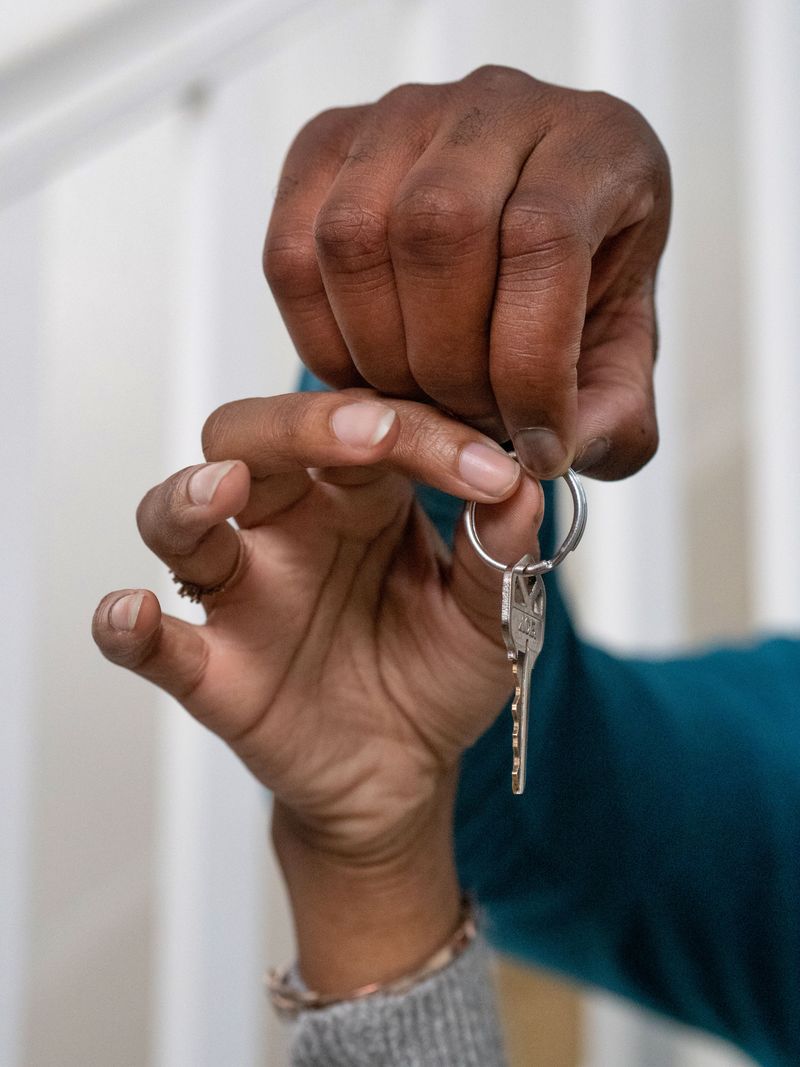
A smooth visit starts with a clear handoff, not a last minute search for your spare keys. Agree whether you will meet directly or leave keys with an approved front desk.
Ask who will hold them between visits and whether anyone else may use them. Label the ring with a nickname, never your full address.
Record how many keys you provide, and arrange their return when service ends, including any copies made with your permission.
2. Check Your Building’s Dog Walker Policy
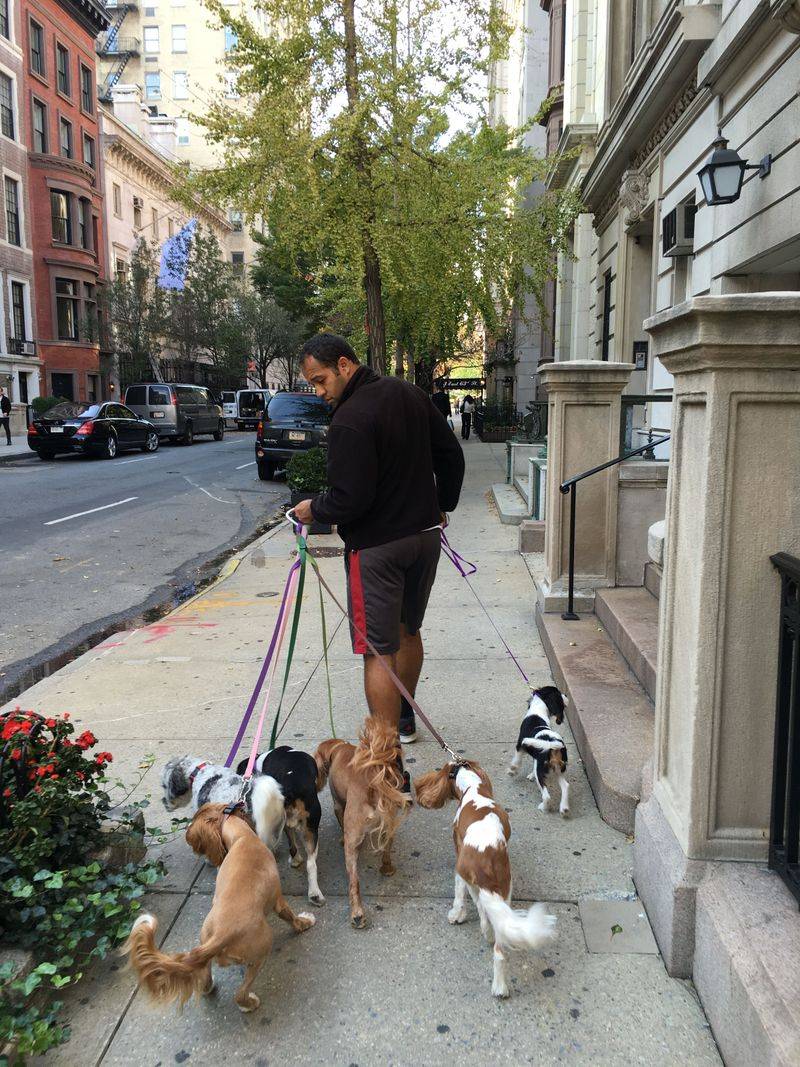
Your neighbor’s arrangement may not match what management allows for your apartment. Ask the managing agent about dog walker registration, identification, permitted entrances, and any required paperwork.
Some buildings request proof of insurance or written permission before allowing access. Requirements vary by property, so get the current rules directly rather than relying on hallway advice.
Share a copy with your walker, and ask management how they announce updates that could affect regular visits or replacement walkers.
3. Explain the Doorman and Front Desk Procedure

The person behind the desk needs more than a familiar face to approve entry. Explain exactly how your walker should introduce themselves and identify your apartment.
Find out whether staff need advance authorization, identification, or a sign in entry. Give permission through the building’s approved system before the first visit.
Also explain whether staff release keys, call you first, or require the walker to return keys immediately afterward, so nobody has to guess during check in.
4. Arrange Access to Locked Lobby Doors
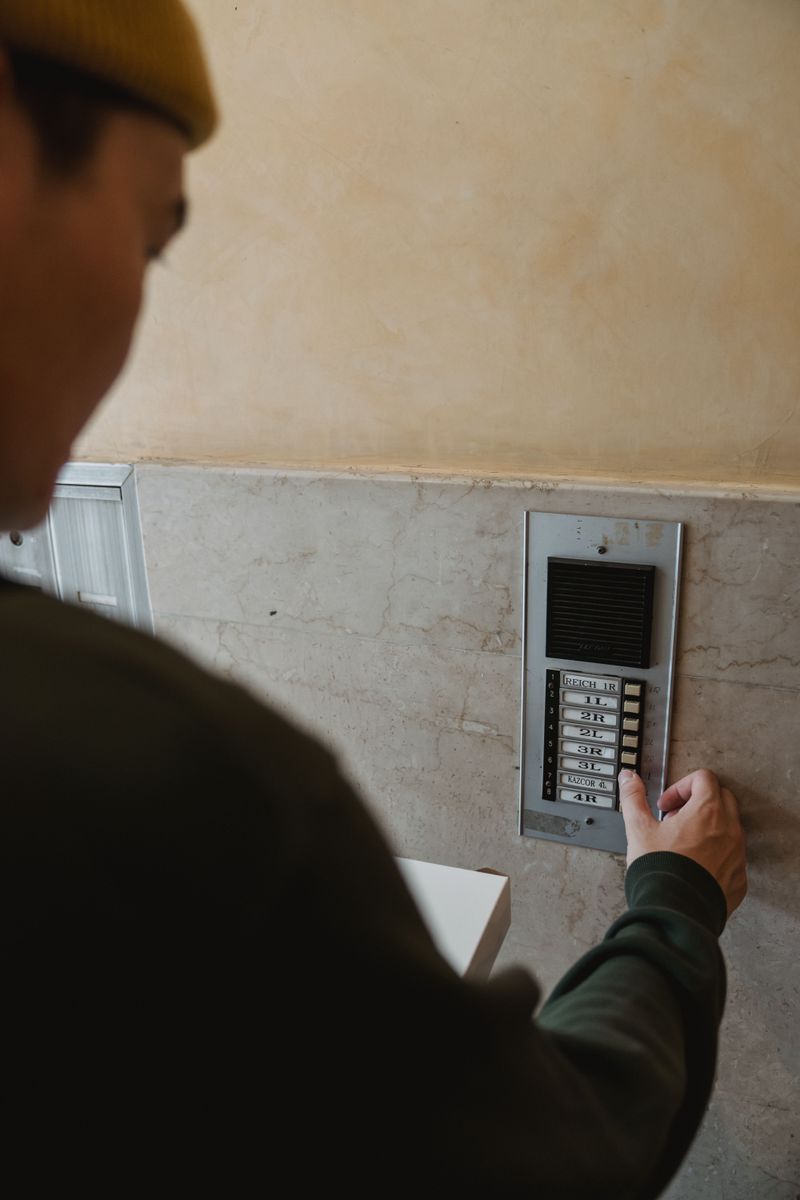
Two locked doors can turn a simple arrival into an unexpected puzzle. Walk your sitter through every entrance, including vestibules, gates, and doors that lock automatically.
Provide an approved key, fob, or visitor code rather than suggesting they follow another resident inside. Check whether mobile entry needs a phone signal or an active account.
Never prop open a shared entrance. Confirm that the same access method works when your walker returns with your dog after walking.
5. Decide How Elevator Access Will Work
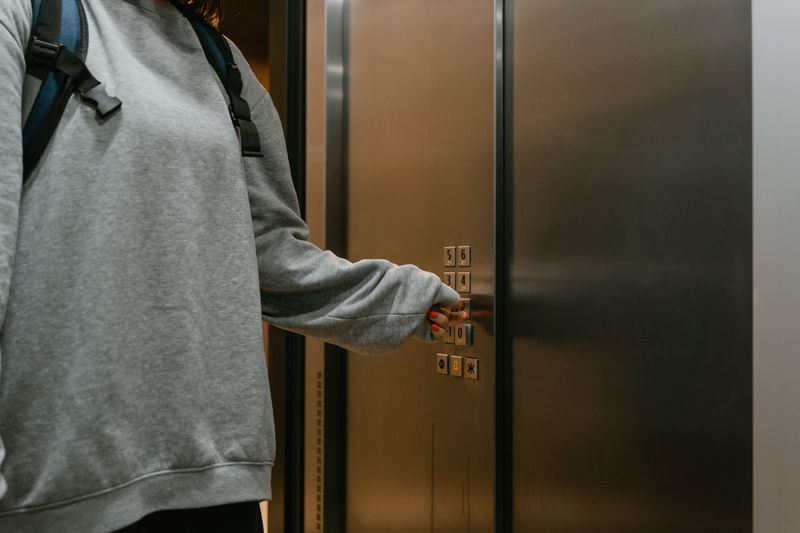
Getting into the lobby does not always mean reaching your floor is possible. Some elevators require a fob, staff approval, or access assigned to specific floors.
Test the actual route with your walker instead of describing it from memory. Explain which elevator serves your apartment and whether visitors need assistance.
If equipment stops working, agree on a safe alternative that suits your dog’s mobility. Never assume a walker can carry your dog up several flights alone.
6. Provide Clear Instructions for Apartment Locks
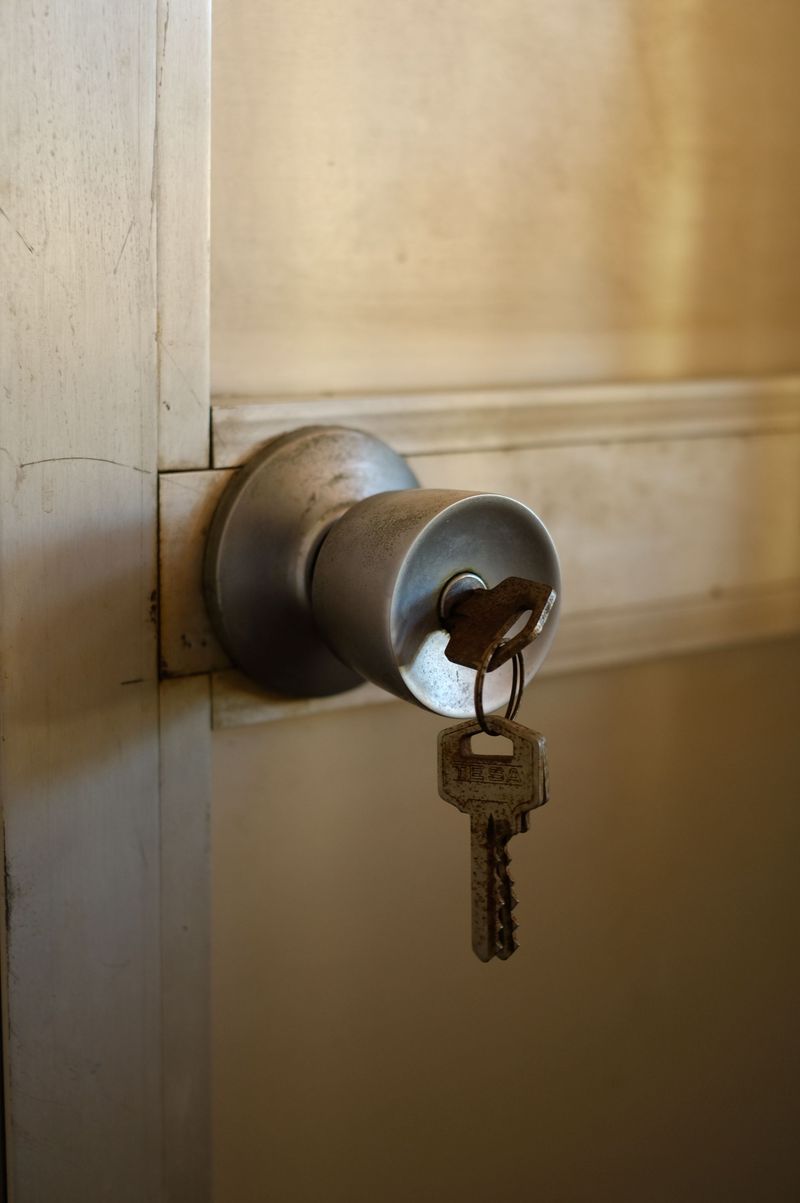
That sticky lock you barely notice can confuse someone using it for the first time. Demonstrate each lock and explain any normal quirks without encouraging force.
Show how to secure the door after both departure and return. For smart locks, provide an authorized visitor credential and explain battery warnings.
Keep instructions free of unnecessary personal details. Ask your walker to check that the door latched, rather than assuming the sound of closing means it locked correctly.
7. Set Up a Reliable Backup Access Plan
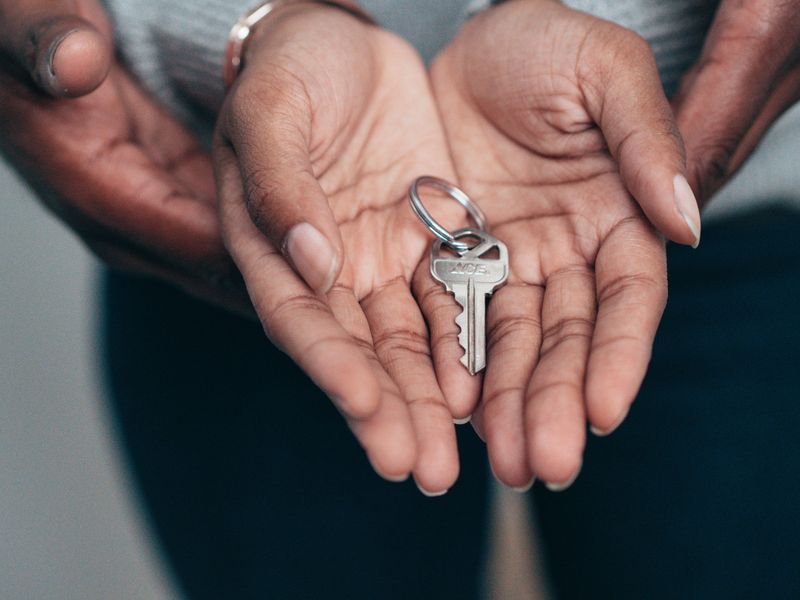
Even careful people occasionally forget a key or discover that a fob stopped working. Choose a backup that your building permits and your walker can actually reach.
A trusted neighbor or authorized front desk may hold a spare with your permission. Confirm their availability during normal walking hours.
Avoid hiding keys outside or attaching lockboxes to building property without approval. Write down who may release the spare and how your walker should verify permission before collecting it.
8. Introduce Your Walker to Building Staff
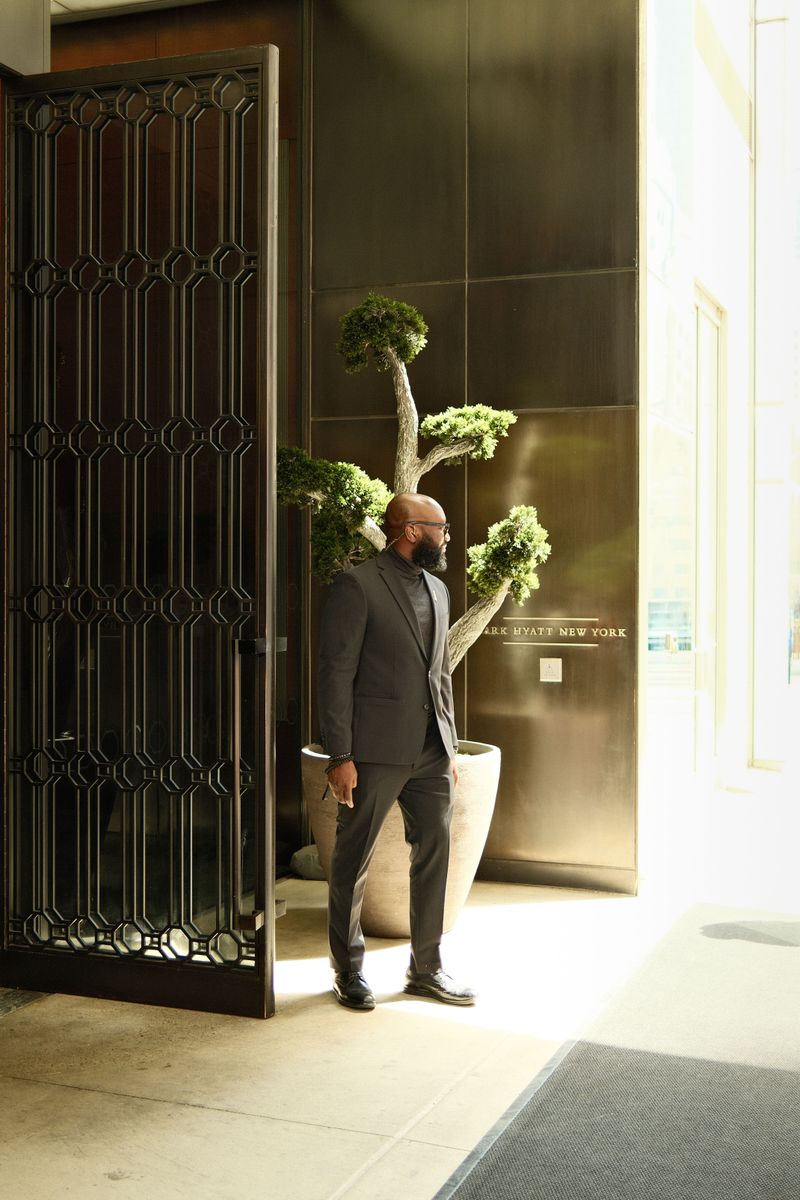
A quick introduction can make the first week feel much easier for everyone. Meet your walker in the lobby and introduce them to staff when practical.
Share their name, company, and expected visiting schedule through approved channels. Friendly recognition helps, but it should never replace required identity checks.
Ask how substitute walkers should be introduced and authorized. Keep staff informed when your arrangement ends, so a familiar visitor does not retain access after permission has been withdrawn.
9. Make Sure Your Walker Can Reach Your Apartment
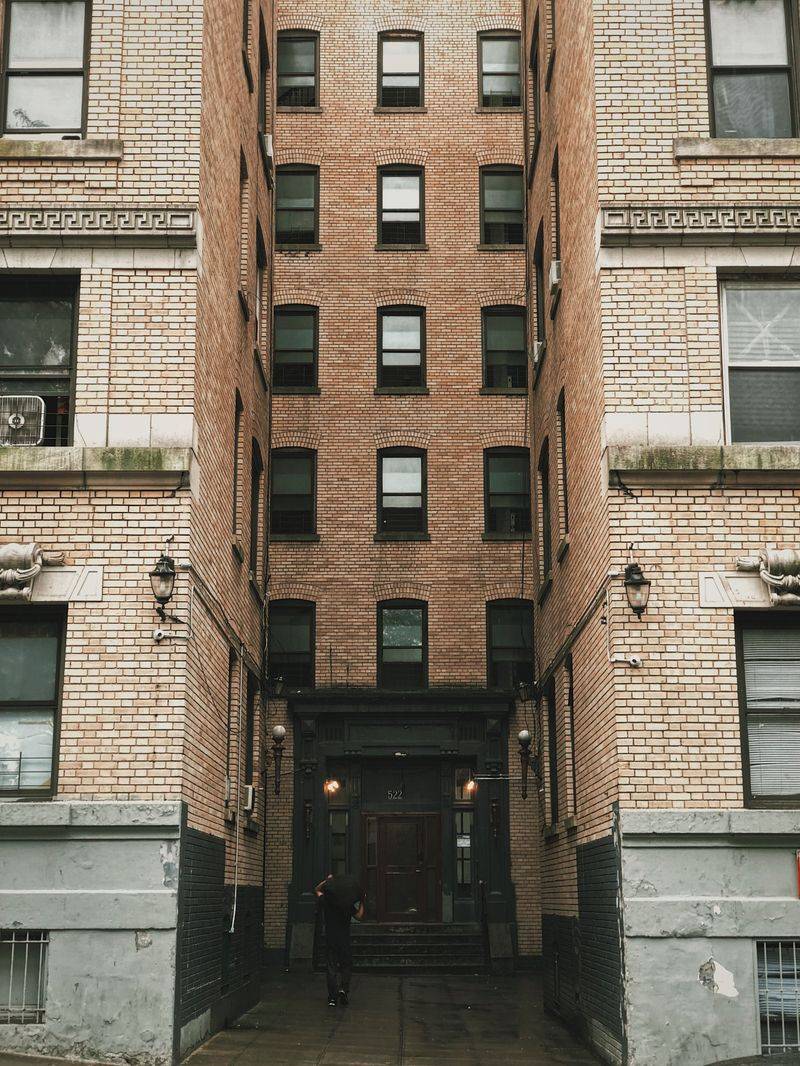
Large buildings sometimes hide a surprisingly tricky route behind a simple street address. Share the correct entrance, tower, floor, and apartment designation before your walker arrives.
Mention split levels, locked corridor doors, and elevators that serve only certain floors. In walkups, explain the stairs and discuss whether they suit your dog.
Send directions privately, without posting access details publicly. A short walkthrough helps reveal obstacles that a map or building directory may not make clear at first.
10. Explain Where Your Dog Should Be Leashed
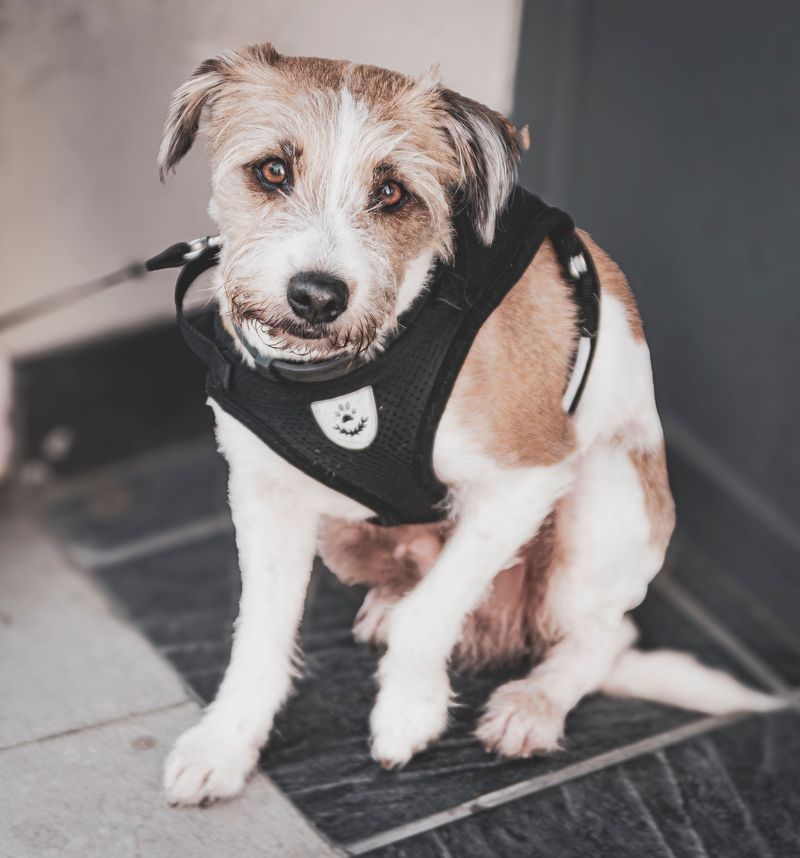
Clip the leash on before opening your apartment door, not after entering the hallway. Check that the collar or harness fits securely and that the clip closes.
Keep your dog leashed through shared spaces and follow posted building rules. On New York City streets, dogs generally need leashes no longer than six feet, with limited exceptions.
Around elevators, keep the dog beside the handler. Both should cross together, with the leash clear of the closing doors.
11. Plan for Busy Lobbies and Hallways

Morning deliveries and school departures can make shared spaces feel crowded to a dog. Tell your walker how your pet responds to carts, children, and unfamiliar dogs.
Choose quieter visit times when possible, or identify a safe place to pause. Waiting for another elevator is often better than squeezing into a crowded car.
Keep greetings optional and allow space around other residents. Reward calm waiting with treats only if they fit your dog’s diet and care plan.
12. Keep Shared Spaces Clean
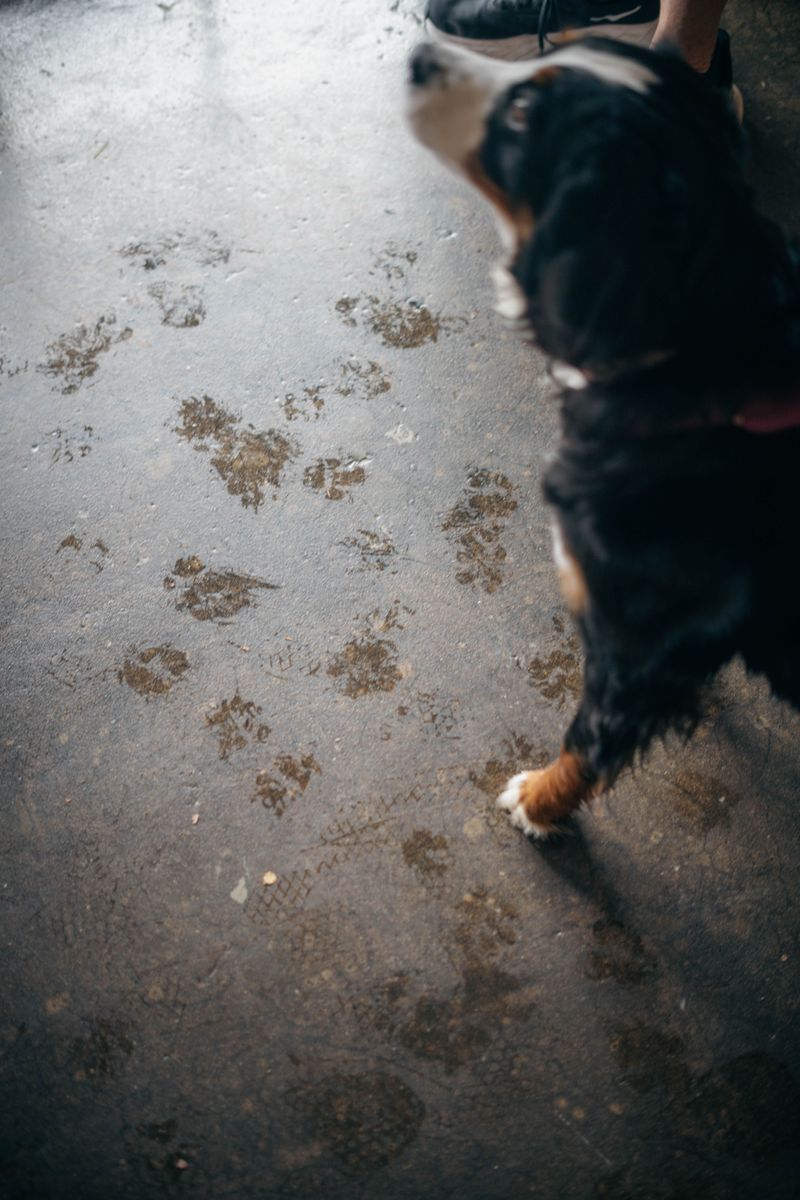
Rainy paws and an unexpected accident are easier to manage with supplies ready. Leave waste bags and a towel somewhere your walker can find without searching.
Explain where used bags belong under building rules, rather than assuming lobby bins are suitable. Ask for prompt cleanup and a message if shared flooring needs attention.
Building staff can advise on approved cleaning methods. Keep supplies away from your dog, and avoid using unfamiliar cleaning products without checking their directions.
13. Share Emergency Contacts and Instructions
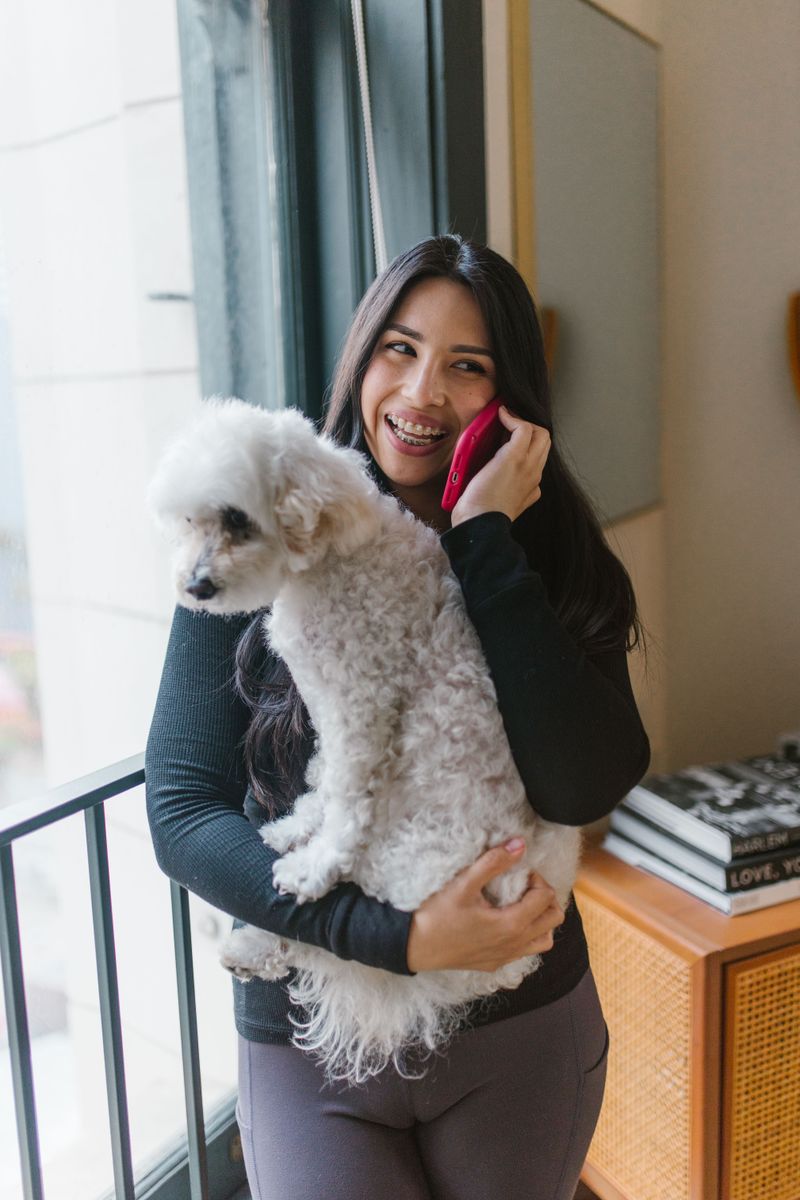
A useful contact list gives your walker clear next steps when plans suddenly change. Include your number, a trusted local contact, your veterinarian, and building management.
Explain who can authorize care if you cannot answer, and discuss payment arrangements with your veterinary clinic. Share relevant health needs without asking the walker to diagnose problems.
For urgent building hazards, follow emergency instructions and contact emergency services when appropriate. Keep these details current and available through a secure shared method.
14. Agree on What Happens When Access Fails
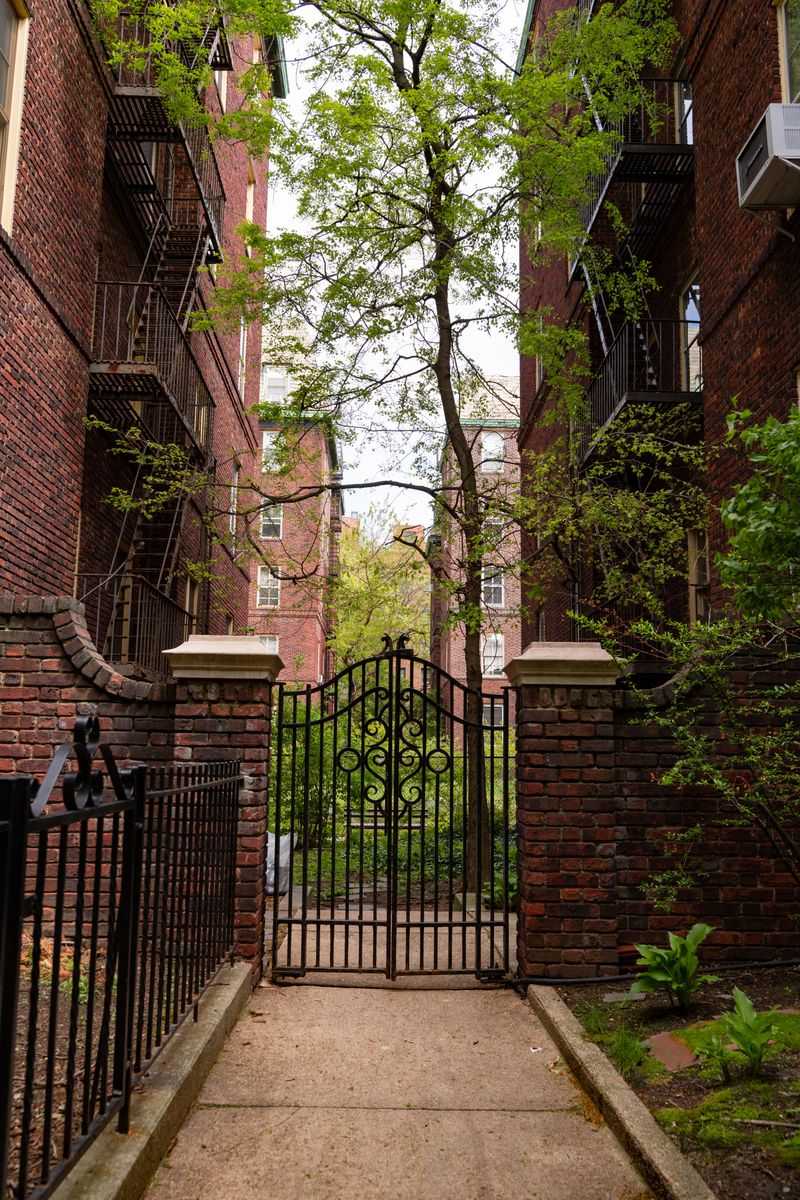
A locked entrance should trigger a plan, not repeated guesses at the keypad. Decide how quickly your walker should contact you and which backup person comes next.
Set a reasonable waiting period and discuss missed visit charges before hiring. Nobody should force entry, borrow unauthorized credentials, or leave your dog unattended outside.
If access fails after the walk, arrange a safe supervised wait. Ask for an update so you can adjust your dog’s next bathroom break promptly.
15. Protect Your Keys and Entry Codes
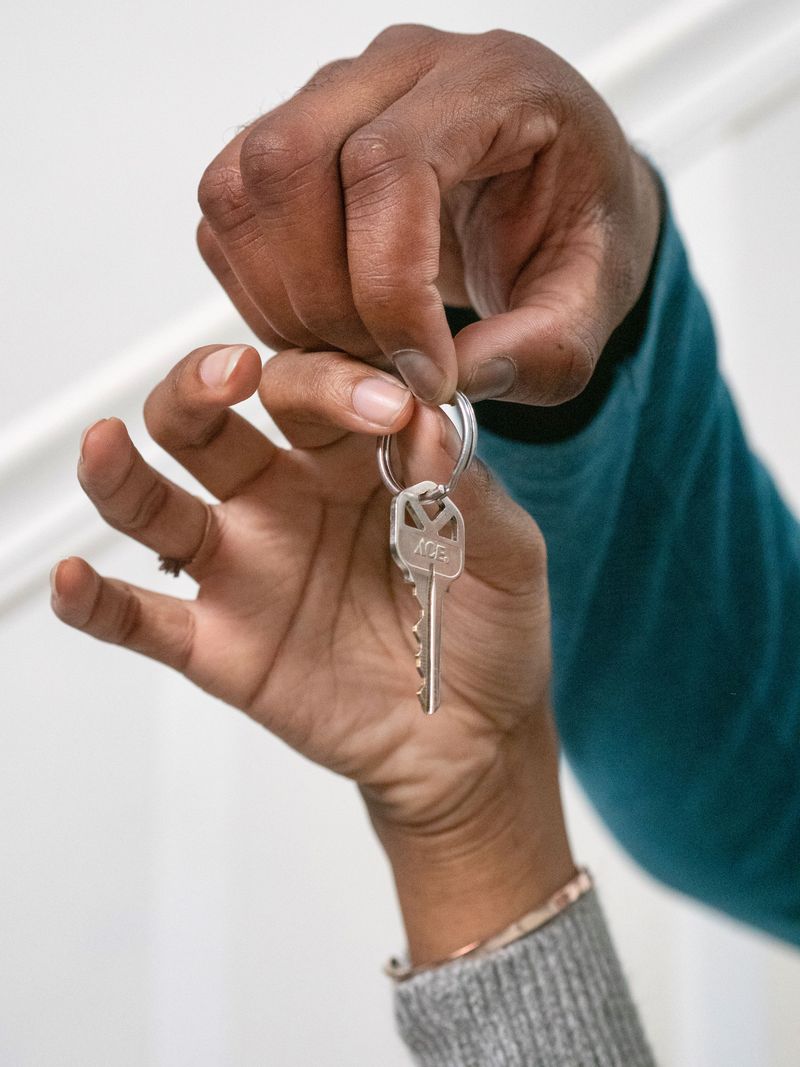
Convenient access should still leave you in control of who enters your home. Use individual visitor codes when your lock supports them and building rules allow.
Ask your walker to store keys securely and avoid sharing credentials in group messages. Never pair a key label with your complete address.
Agree that lost keys must be reported immediately. When service ends, collect physical keys, revoke digital permissions, and ask management whether a missing fob should be deactivated promptly.
16. Confirm What Happens During Staff or Security Changes
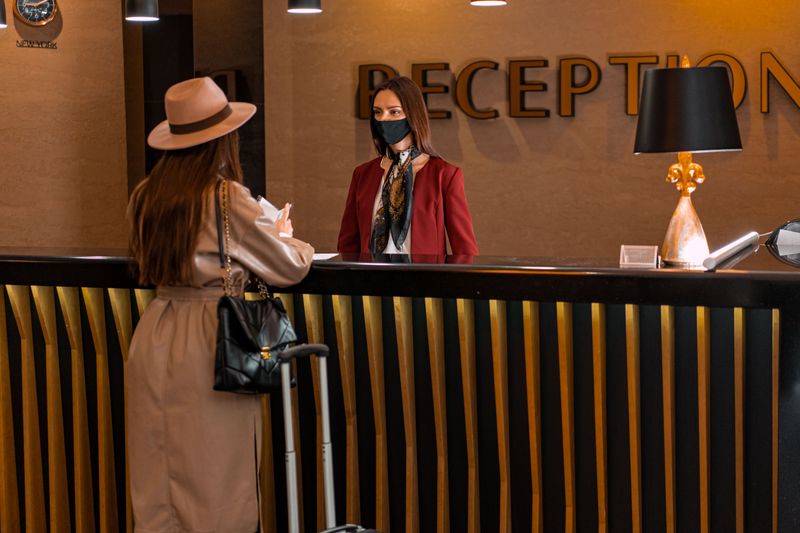
A familiar routine can change overnight when a new desk team takes over. Ask management how visitor permissions transfer during staffing changes or security system updates.
Your walker may need fresh registration, a replacement fob, or a different check in process. Watch for building notices and pass along relevant updates before the next visit.
Confirm that temporary staff can find your authorization. After any change, request an arrival message to catch problems before your dog’s schedule gets disrupted.