10 Smart Ways To Keep Your Dog’s Ears Clean And Healthy
No one talks about dog ear care as a fun topic, but it’s super important. Ignoring those ears can quickly lead to infections or discomfort, leaving your dog unhappy. The secret? Smart routines that work without stress or fuss. Interested in learning 10 practical ways to keep your dog’s ears clean and happy? Let’s jump in.
Know When Your Dog’s Ears Need Cleaning
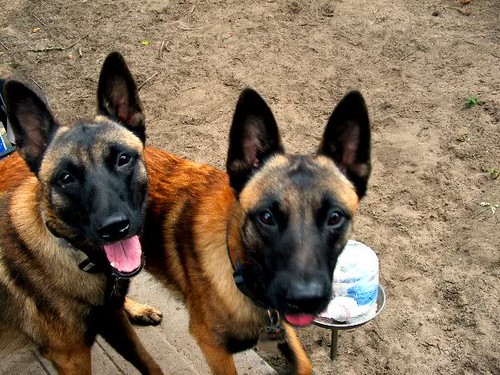
Visible wax or mild odor signals the need for ear cleaning in dogs. Floppy and hairy ears tend to trap debris, requiring more frequent cleaning. Some dogs produce more wax naturally. Additionally, behaviors like paw licking and head shaking can indicate ear discomfort and the need for inspection.
Choose A Vet-Approved Ear Cleaning Solution
Use only vet-approved ear-cleaning solutions formulated specifically for dogs. Opt for pH-balanced products to help dissolve wax and avoid irritation. Natural ingredients such as chamomile or aloe offer soothing benefits. Avoid homemade vinegar mixes, as they can worsen inflammation and cause discomfort if applied improperly.
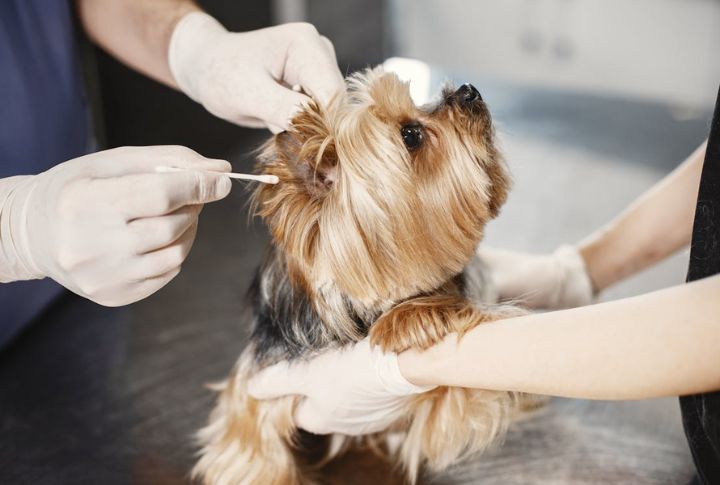
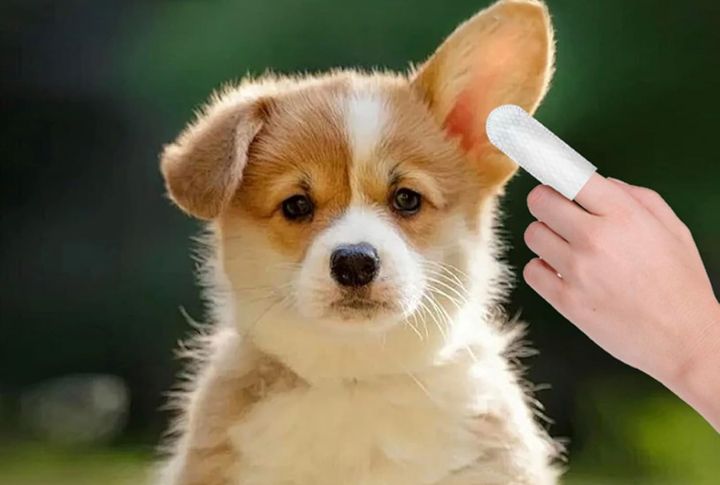
Gather The Right Tools Before You Start
Collect all necessary items before starting ear cleaning, like cotton balls or dog-safe wipes. Avoid Q-tips since they risk rupturing the eardrum. Have towels on hand for messes and treats to keep your dog calm. Dog-specific cleaning kits reduce the chance of injuring sensitive ear canals.
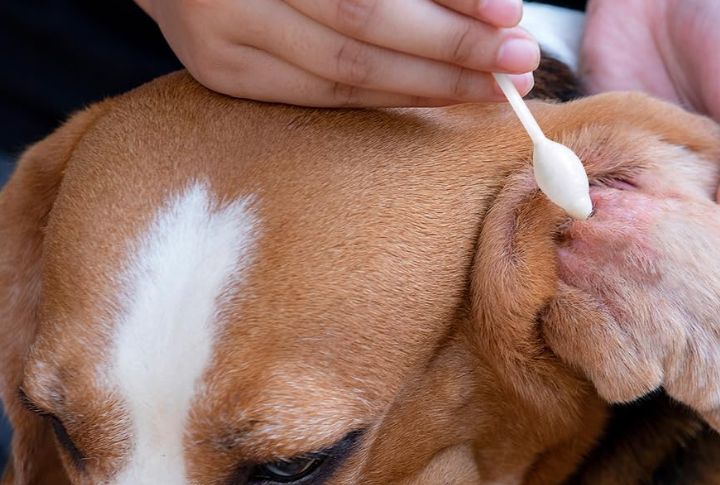
Follow A Step-By-Step Cleaning Routine
Fill the ear canal gently with the cleaning solution and massage the ear’s base. Let the dog shake its head, which helps remove debris. Wipe the ear with cotton without deep insertion. Most dog ears have an L-shaped canal, so debris won’t fall out unless you follow the proper technique.
Use Gentle, Calm Handling During Cleaning
Use a soft voice and slow motions to avoid stressing your dog. Hold them gently to keep movements controlled and safe. Anxiety during cleaning may create lasting resistance. Interestingly, certain pups enjoy ear care when introduced positively and without pressure. A steady, calm process works best.
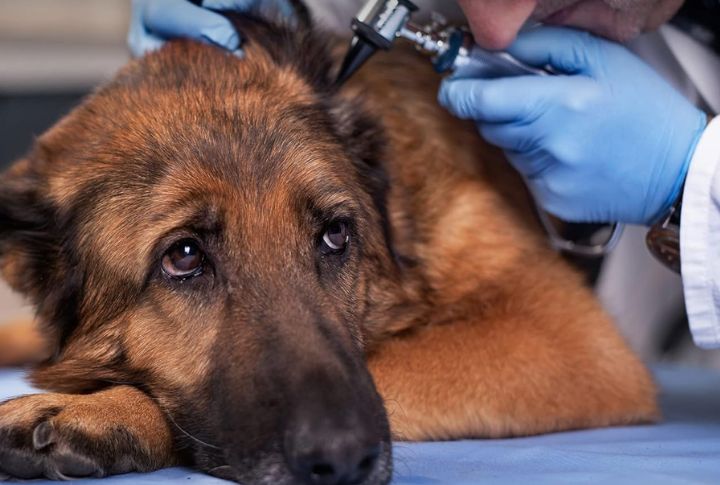
Watch For Red Flags During The Process
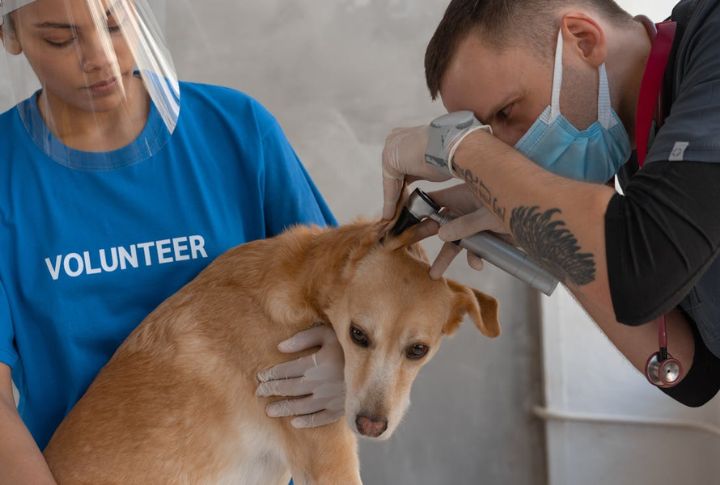
If your dog’s ear looks red or smells really bad, stop immediately—cleaning could worsen the problem. If there’s bleeding, it’s time to call the vet. Even a small infection can spread deeper if ignored. Since some cases require flushing under anesthesia, it’s important not to ignore unusual signs.
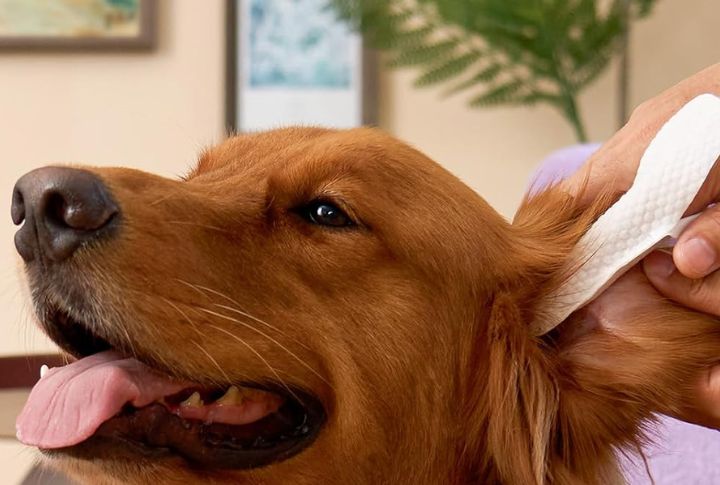
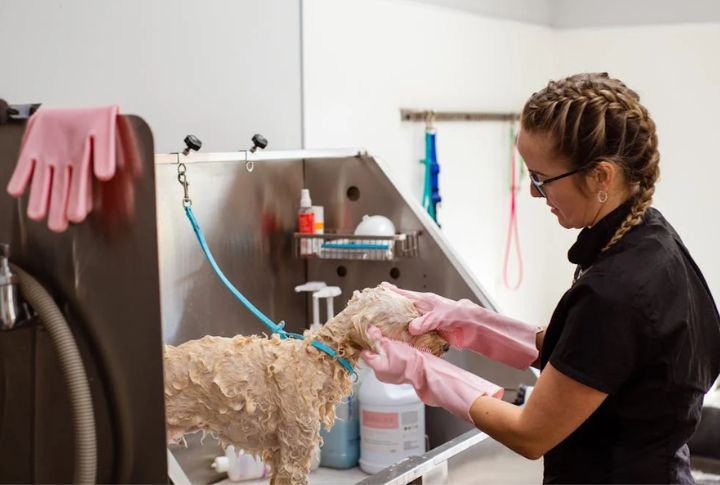
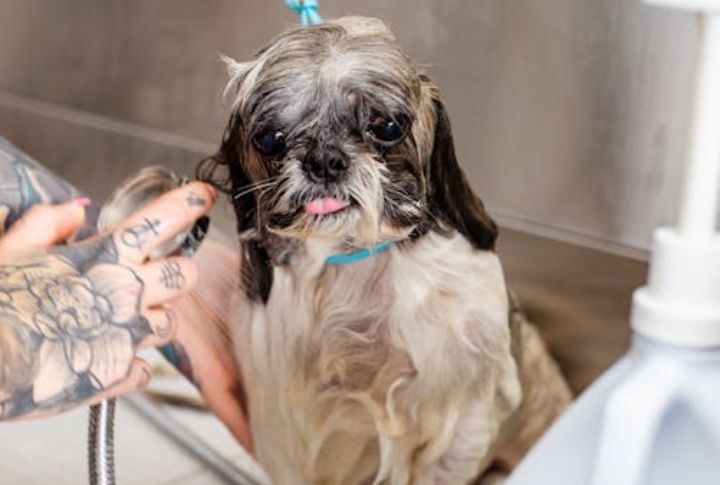
Dry Ears Properly After Baths Or Swims
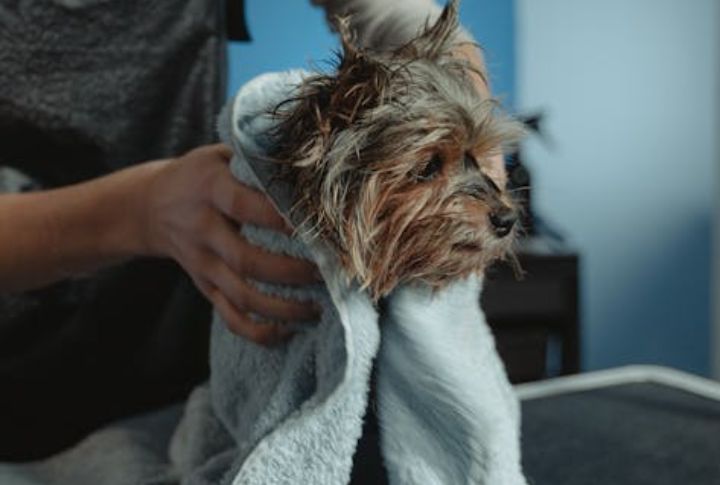
After baths or swims, always dry your dog’s ears thoroughly. Use a towel or soft cotton to absorb any leftover moisture since dampness can promote bacteria and yeast growth, especially in dogs with water-trapping ear shapes. Just like people, dogs can develop a “swimmer’s ear” if their ears stay wet too long.
Establish A Regular Ear Cleaning Schedule
Set a schedule based on your dog’s needs. Clean weekly if wax builds up or moisture is a persistent problem. For others, a monthly routine is usually enough. Refrain from over-cleaning because it strips protective oils and can cause irritation. Dogs with allergies often need more frequent checks. In healthy ears, cleaning may rarely be necessary.
Clean After High-Risk Activities

Inspect your dog’s ears after hikes or rolling in grass. These activities often introduce debris or pollen, and small amounts of dust can cause internal flare-ups. Scent marking through rolling increases exposure to hidden irritants. A simple cleaning afterward can help prevent infections and keep the ears comfortable.
Trim Hair Around The Ear Opening If Needed
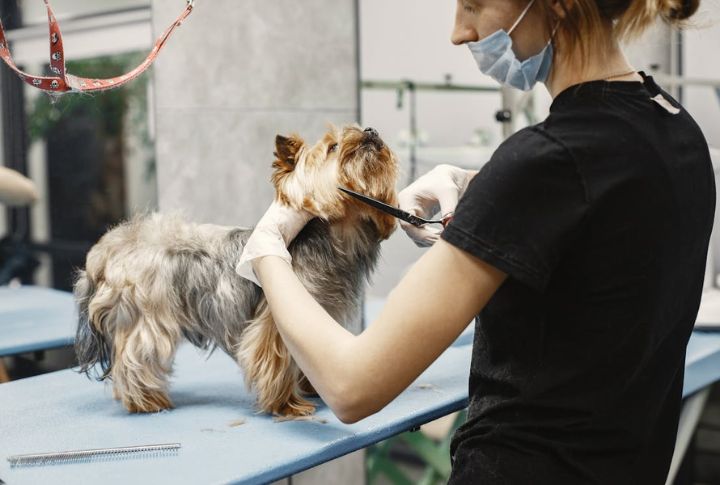
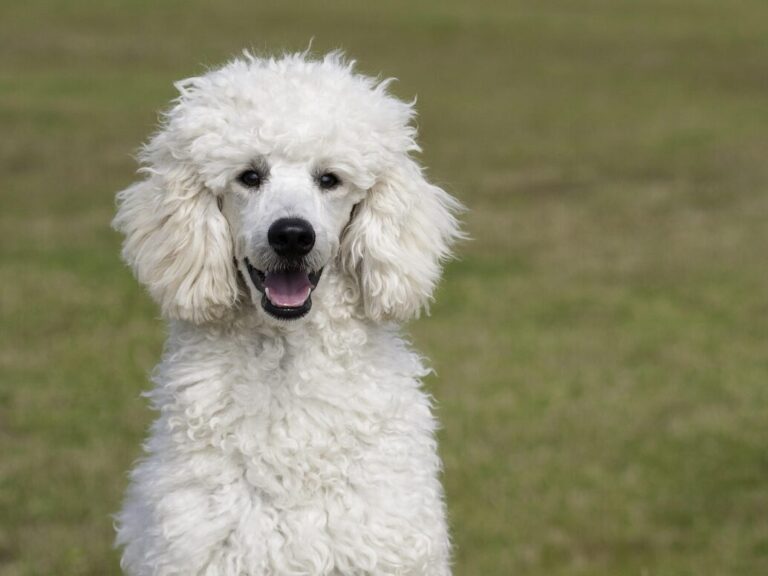
Extra hair near the ear? That stuff traps moisture and dirt fast, which can lead to infections. Use blunt-tipped scissors if trimming at home, or better yet, book a pro. Fun fact: some groomers use ear powder to grip and pull hair gently. Still, not every breed needs trimming, so check with the vet first.