15 Earthquake Kit Essentials Every California Dog Owner Should Pack
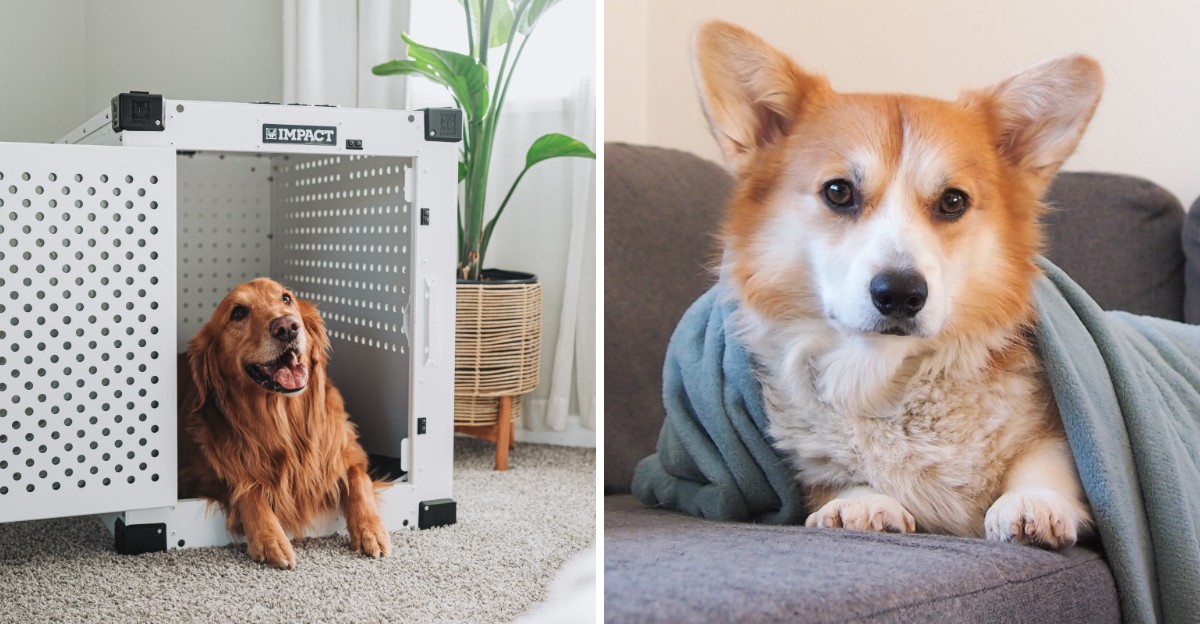
Your dog depends on familiar routines, even when an earthquake changes the day’s plans. In California, a ready pet kit can make staying home safely or leaving together much easier.
You do not need fancy gear, just useful supplies chosen for your dog’s size, health, and habits. Start with these essentials, then check your kit regularly so everything stays ready when you need it.
1. Pack Enough Drinking Water for Your Dog
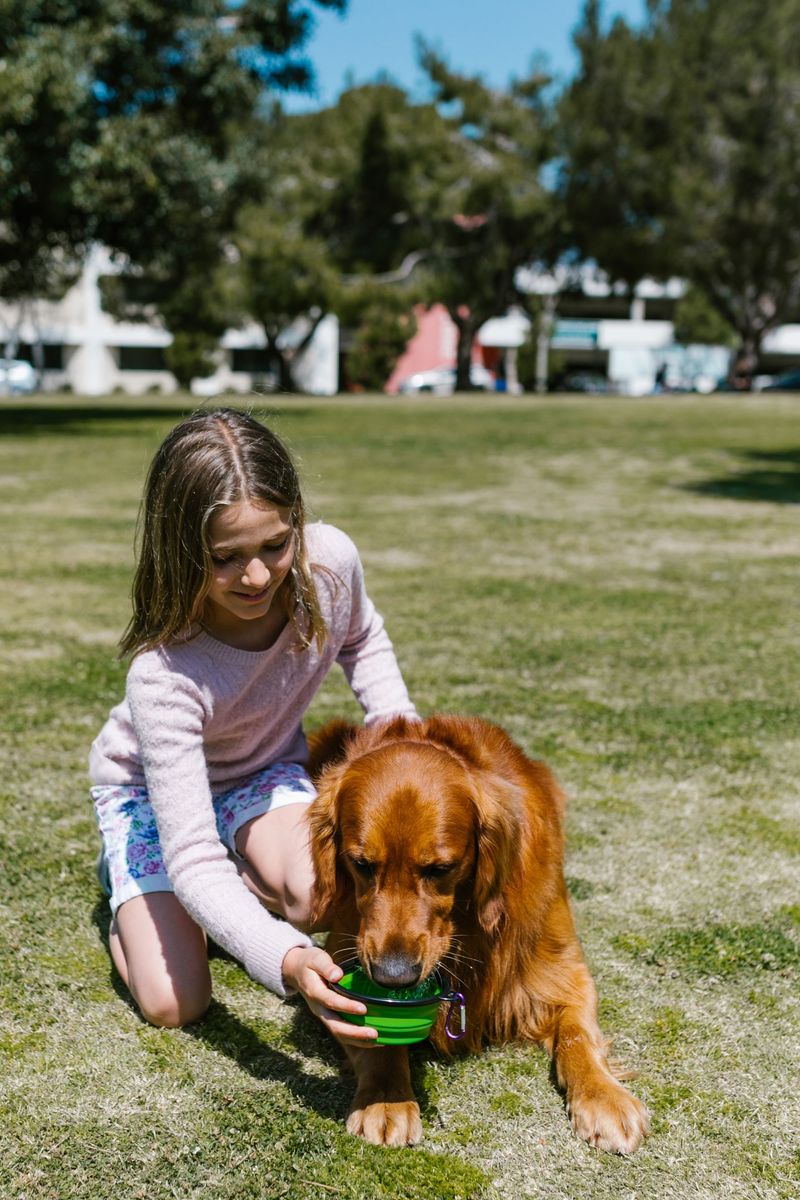
A thirsty dog cannot understand why the tap has stopped working. Store drinking water specifically for your pet, separate from your household supply.
Federal preparedness guidance recommends several days of water, stored in a waterproof container.
Ask your veterinarian how much your dog needs based on size, diet, health, and weather. California heat can increase those needs.
Label containers with dates, rotate supplies regularly, and pack extra for spills or unexpected delays during an evacuation.
2. Include Several Days of Dog Food
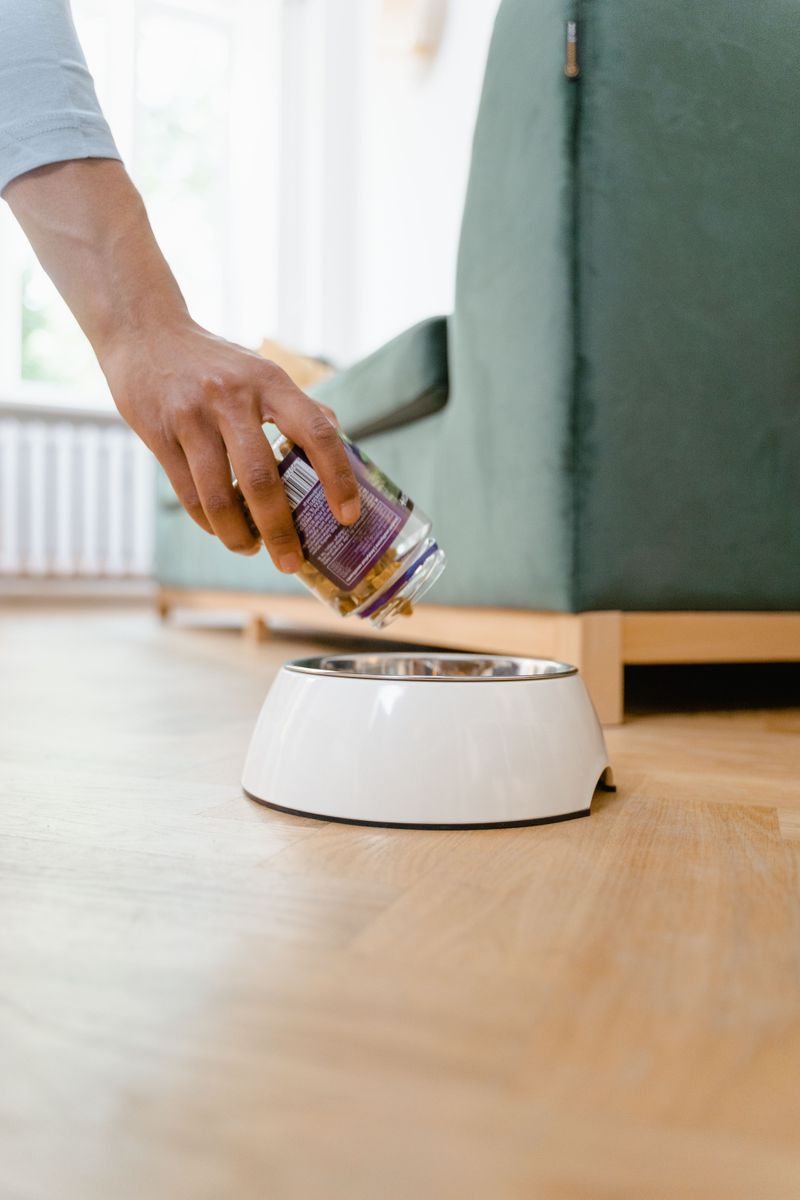
Familiar meals bring a little normal life to an unsettled day. Pack several days of your dog’s usual food in an airtight, waterproof container.
Avoid switching brands suddenly, since diet changes can upset sensitive stomachs.
Include a measuring scoop and any supplies needed for serving. Canned food requires an opener unless every container has a pull tab.
Check expiration dates twice yearly, and replace stored portions before they lose freshness or attract unwanted household pests.
3. Bring Collapsible Food and Water Bowls
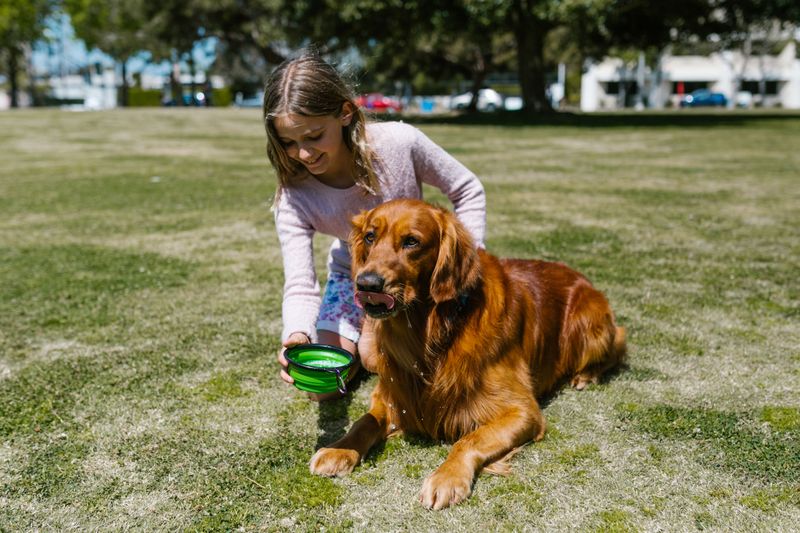
Small bowls earn their space when every pocket matters. Choose sturdy, washable designs that fold flat without tipping easily when opened.
Carry separate bowls for meals and water so drinking water stays cleaner.
Let your dog practice using them before adding them to the kit. Some pets dislike unfamiliar textures or narrow openings.
Wash and dry bowls after use whenever possible. Pack them where you can reach them quickly during travel stops or shelter check-ins.
4. Pack an Extra Supply of Medications
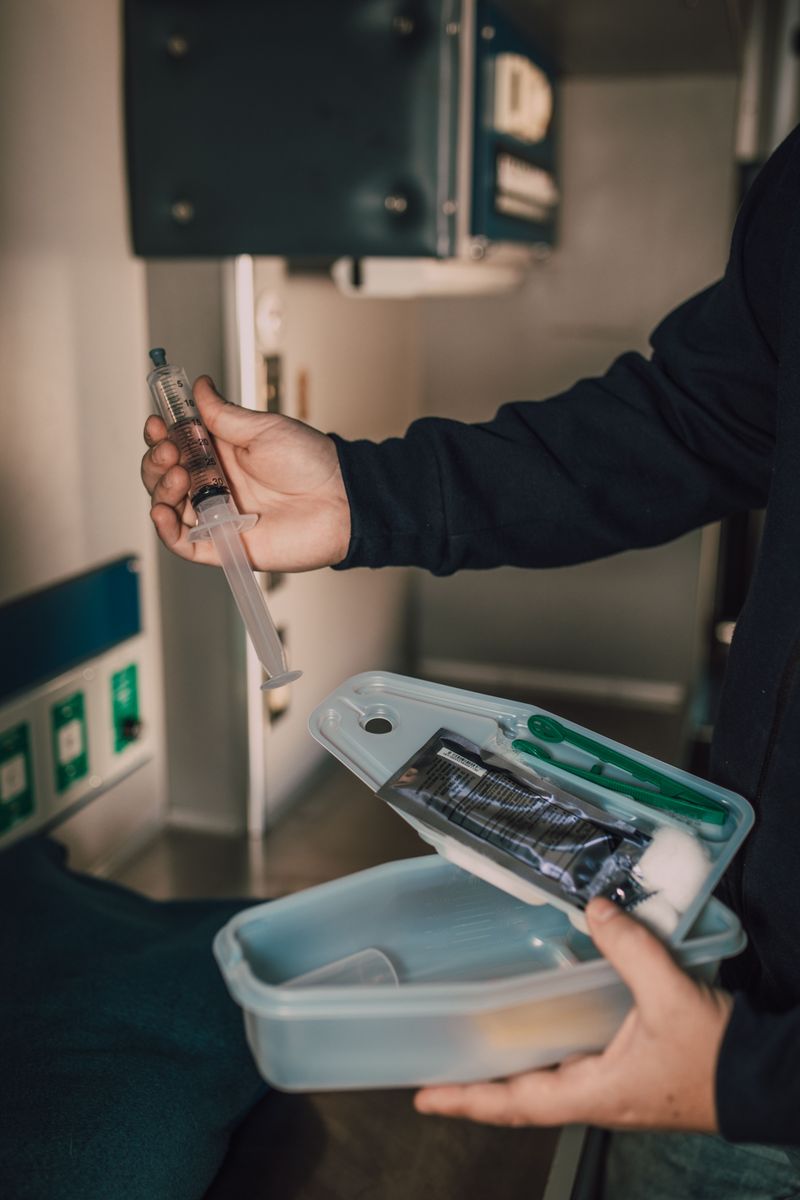
Missed doses can complicate an already busy day. Ask your veterinarian about keeping an emergency supply of your dog’s prescriptions.
Store medicines in labeled containers with clear instructions and your veterinary clinic’s contact information.
Discuss safe storage temperatures, especially for medicines needing refrigeration. A cooler alone may not maintain the required temperature long enough.
Rotate supplies before expiration, and include any prescribed delivery tools. Never change doses or substitute human medicine without direct professional veterinary guidance.
5. Keep a Pet First Aid Kit Ready
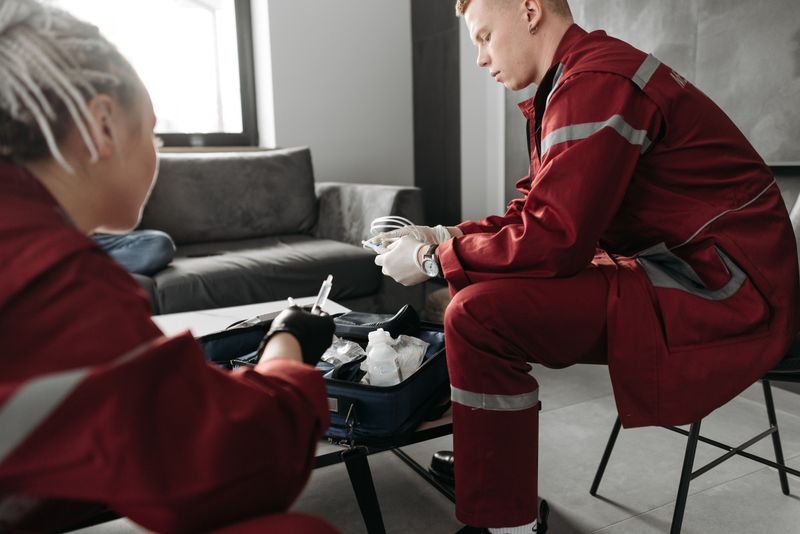
A small scrape is easier to handle with supplies nearby. Gather sterile gauze, nonstick pads, saline rinse, disposable gloves, and blunt scissors.
Ask your veterinarian which additional supplies suit your dog and your comfort level.
Include a simple pet first aid guide for quick reference. Bandages applied too tightly can cause problems, so learn proper techniques beforehand.
First aid supports your dog until professional care is available. Keep your veterinarian’s emergency number inside the pouch.
6. Store Copies of Veterinary Records

Paperwork can save time when your regular clinic is unavailable. Keep copies of vaccination records, medical conditions, prescriptions, and your dog’s microchip number.
Add a brief care summary explaining allergies, special diets, or handling needs.
Protect printed pages inside a waterproof sleeve. Save digital copies where you can access them offline, too.
Boarding facilities and evacuation shelters may request different records. Confirm local requirements ahead of time rather than assuming every location follows identical rules.
7. Add a Secure Leash and Harness

Even a dependable dog may startle after unfamiliar movement or noise. Pack a sturdy, fixed-length leash and a properly fitted harness.
Check buckles, stitching, and clips for wear before storing them.
Practice putting the harness on calmly, including when your dog is resting. Keep spare equipment in the kit rather than borrowing everyday walking gear.
After shaking stops, leash your dog before opening doors when safe. Avoid damaged structures and follow instructions from local officials.
8. Include a Well-Fitted Emergency Carrier

Leaving quickly feels simpler when transport is already planned. Choose a secure carrier that lets your dog stand, turn around, and lie comfortably.
Check ventilation, closures, and the manufacturer’s weight limit before relying on it.
For larger dogs, arrange suitable vehicle transport and lifting help if needed. Introduce carriers with treats and short practice sessions.
Label the outside with your contact details. Never leave your dog unattended inside a parked vehicle, especially during warm weather.
9. Pack an Extra Collar With Updated ID Tags

A readable phone number gives a finder an immediate next step. Keep a spare collar with current identification tags in your kit.
Check the fit regularly, especially for growing puppies or dogs whose weight changes.
List a reachable mobile number and consider adding a backup contact. Microchips provide another identification layer, but they require scanning.
Confirm your chip registration and contact details are current. Neither a collar nor a microchip replaces careful supervision during evacuations.
10. Keep Recent Photos of Your Dog
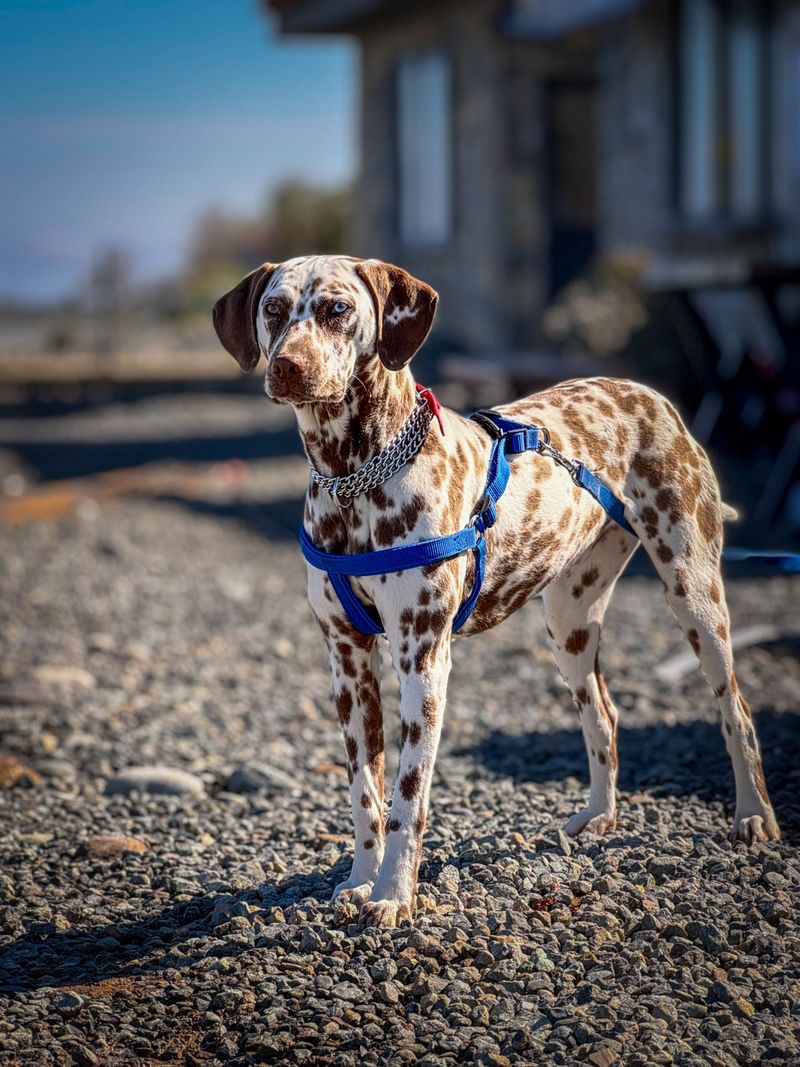
Clear pictures help others recognize your dog’s special markings. Print recent photos showing the face, full body, and any distinctive features.
Include one picture of you together to support identification if you become separated.
Save the same images on your phone and in an offline folder. Update them after major grooming changes or as puppies grow.
Add notes about coat color, size, and identifying marks. Photos can assist reunification, though ownership checks may require documentation.
11. Bring Waste Bags and Cleaning Supplies
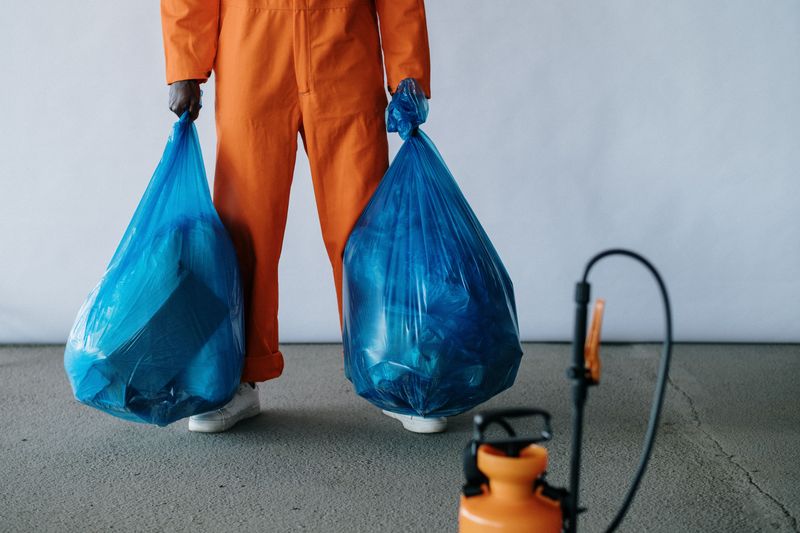
Bathroom breaks still happen when normal routines disappear. Pack plenty of waste bags, paper towels, disposable gloves, and absorbent pads.
Add a pet-safe cleaning product, following its label for use and storage.
Keep cleaning supplies separate from food, medicines, and drinking water. Dispose of waste according to shelter rules or local guidance.
Pads may help during travel, but offer outdoor breaks whenever conditions allow. A tidy setup makes shared spaces more comfortable for everyone nearby.
12. Include Familiar Bedding and Comfort Items

Home sometimes smells like a favorite blanket. Tuck a familiar, washable bedding piece into your dog’s kit, along with one sturdy toy.
Choose items your dog already enjoys rather than introducing something unfamiliar during evacuation.
A comforting scent may help your pet settle in a new space. Avoid toys with loose parts or stuffing your dog tends to swallow.
Keep bedding dry inside a sealed bag. Comfort items support calm routines, but never replace supervision.
13. Pack a Supply of Towels and Protective Gear
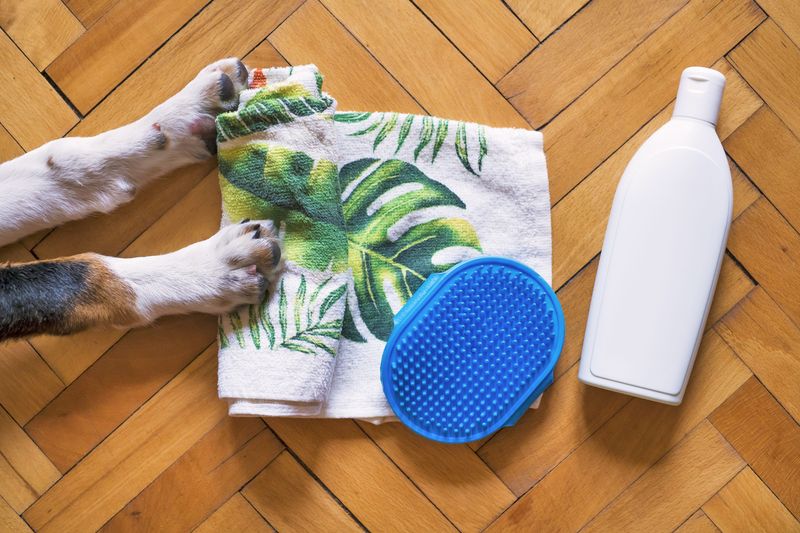
Dusty paws and damp fur are easier to manage with towels. Pack several absorbent towels for drying, bedding protection, or covering dirty surfaces.
Add properly fitted dog boots if your pet already tolerates them.
Practice wearing boots before an emergency, using brief sessions and rewards. Protective footwear does not make broken glass or unstable ground safe.
Choose clear routes whenever possible. Include weather protection suited to your region, since California conditions vary widely throughout the state.
14. Add a Portable Crate or Temporary Containment Option
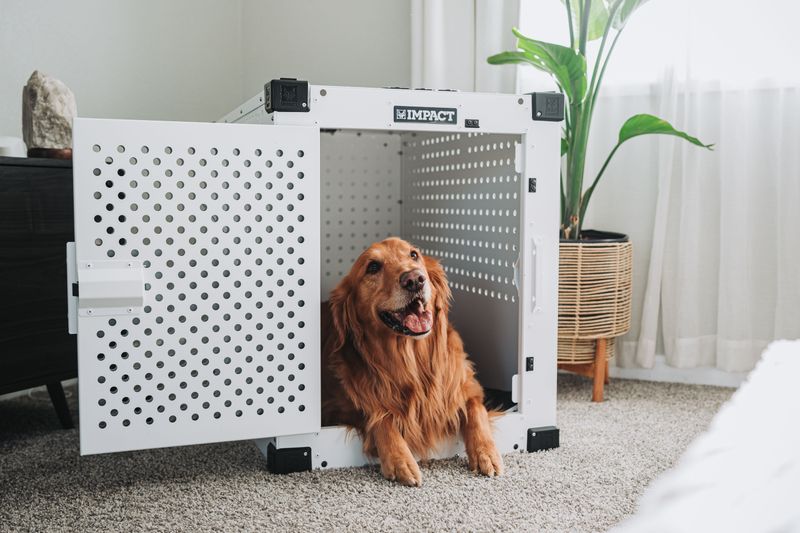
A safe resting spot helps when doors keep opening around you. Pack a folding crate or sturdy exercise pen appropriate for your dog.
Choose secure latches and materials that match your pet’s strength and habits.
Soft pens may not contain determined chewers or climbers. Unlike a travel carrier, temporary containment creates a managed resting area after arrival.
Check shelter policies before depending on your setup. Introduce it at home, and supervise your dog during use.
15. Keep Emergency Contact Information Accessible
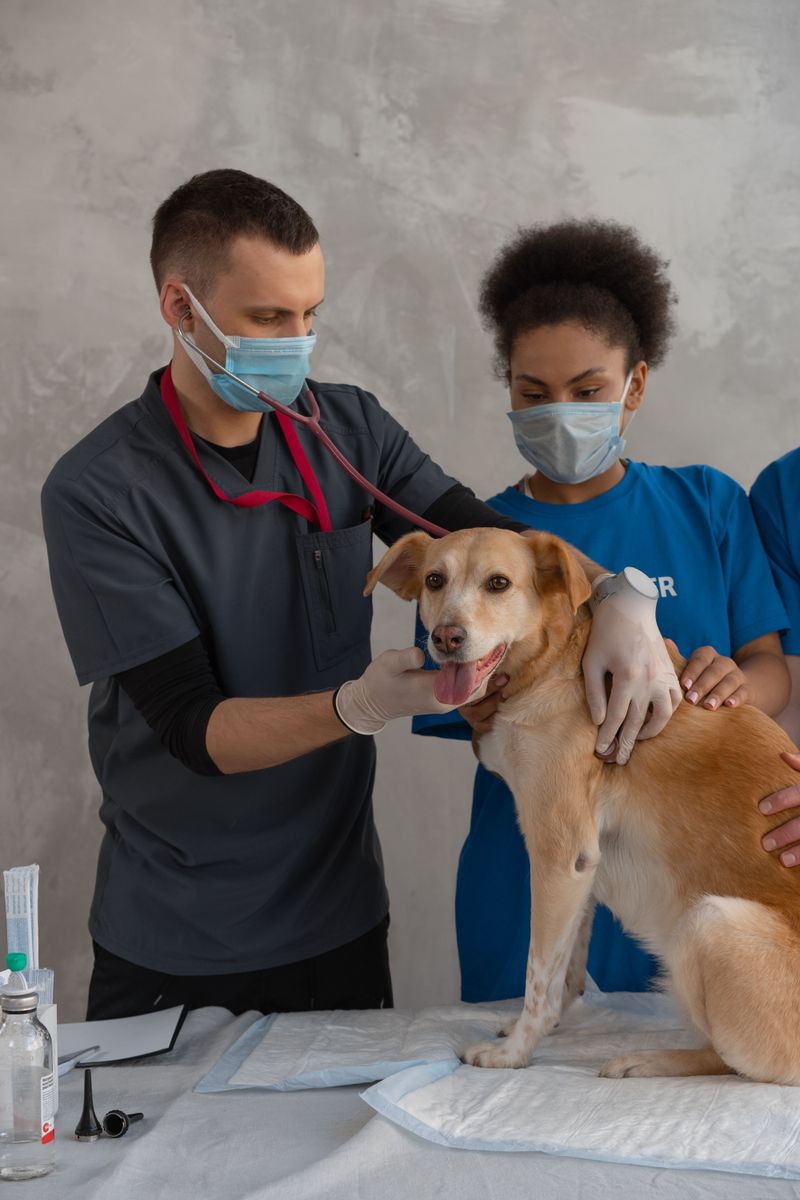
Your phone should not be the only place numbers live. Print contacts for your veterinarian, emergency clinic, local animal control, and backup caregiver.
Add an out-of-area contact who can help coordinate updates.
Identify pet-friendly lodging and check local evacuation guidance, since shelter arrangements vary. Keep this list beside your kit and share your plan with someone trusted.
Review everything twice yearly. A packed bag and practiced plan make the next step feel much more manageable.